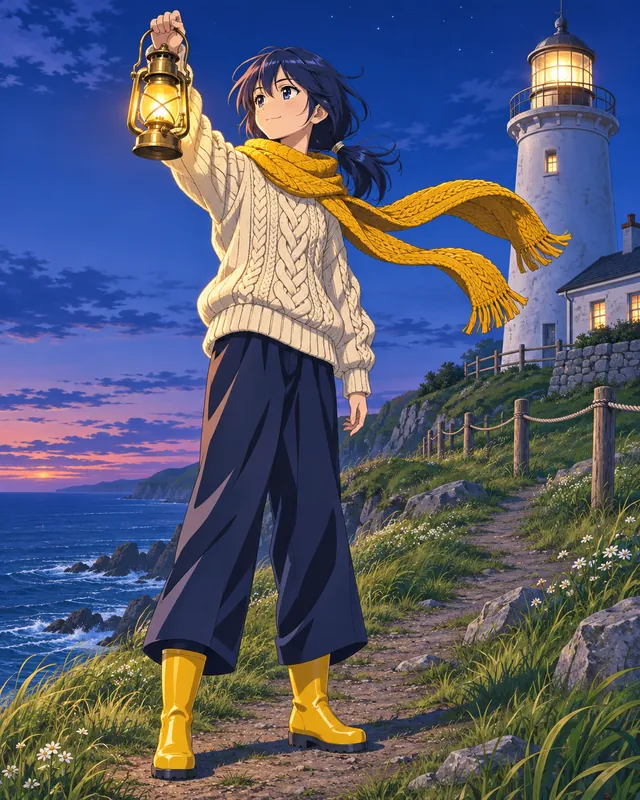
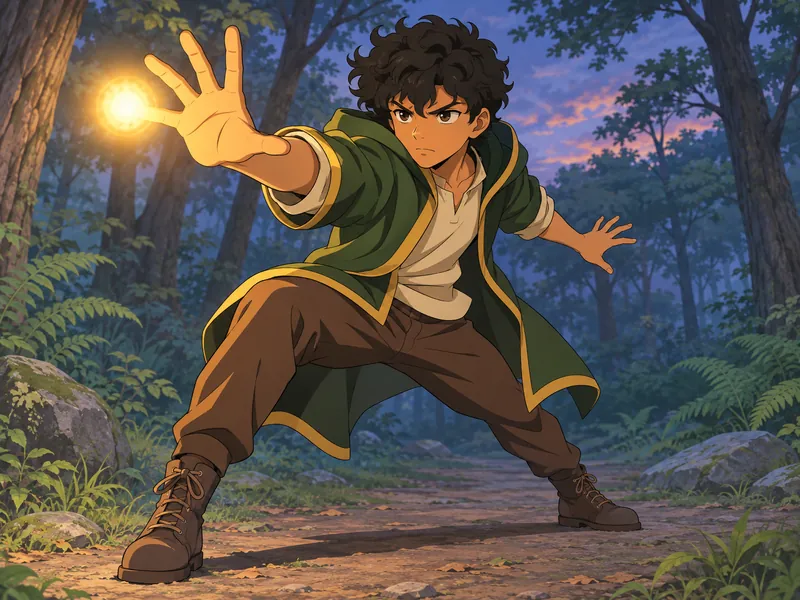
Lantern Spell
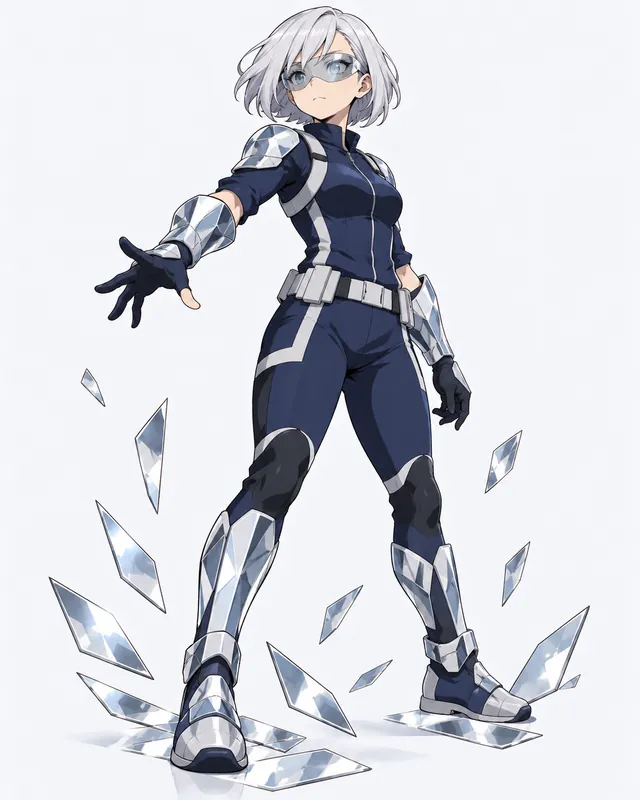
Spellcast- Palm forward, back foot braced
- A low angle makes the spell feel big
- Sleeves pushed back by the glow
This AI pose generator turns a few choices into a full-body pose reference you can draw from. Pick a pose family, from fighting stances, sprints and hero landings to sitting, dancing and casting a spell, then set the camera angle, the lens, the body view, the line of action, the weight and the hands. Put the pose on your own character or on a plain wooden mannequin, and switch to a reference sheet to see the same pose from the front, the side and the back.
Ideas
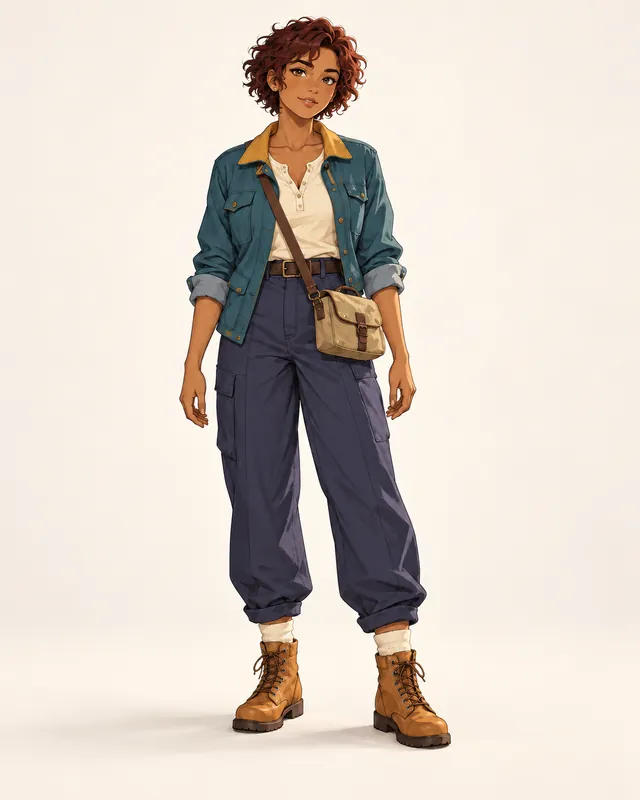
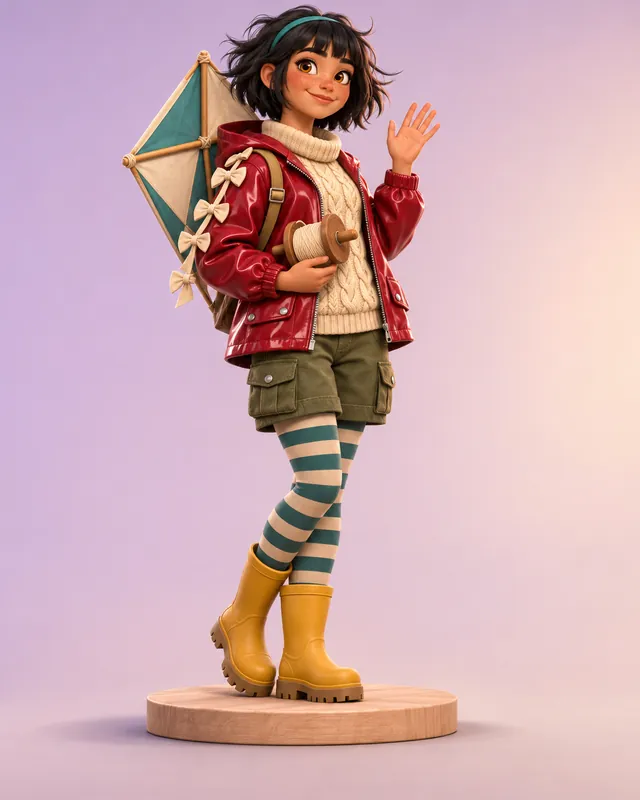
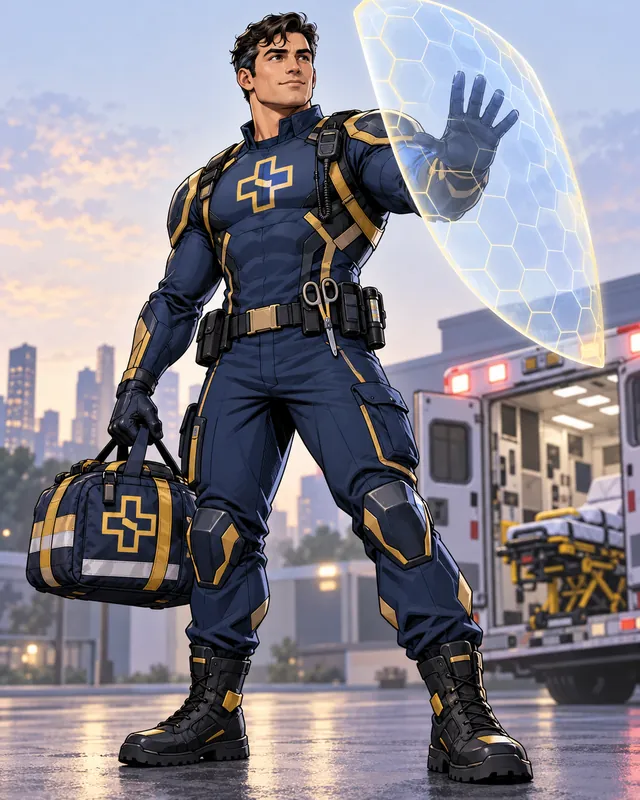
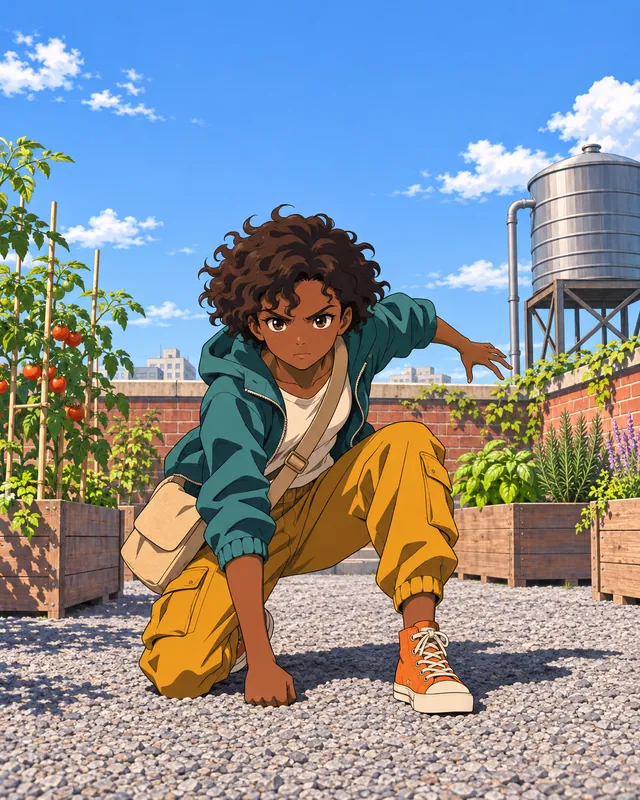
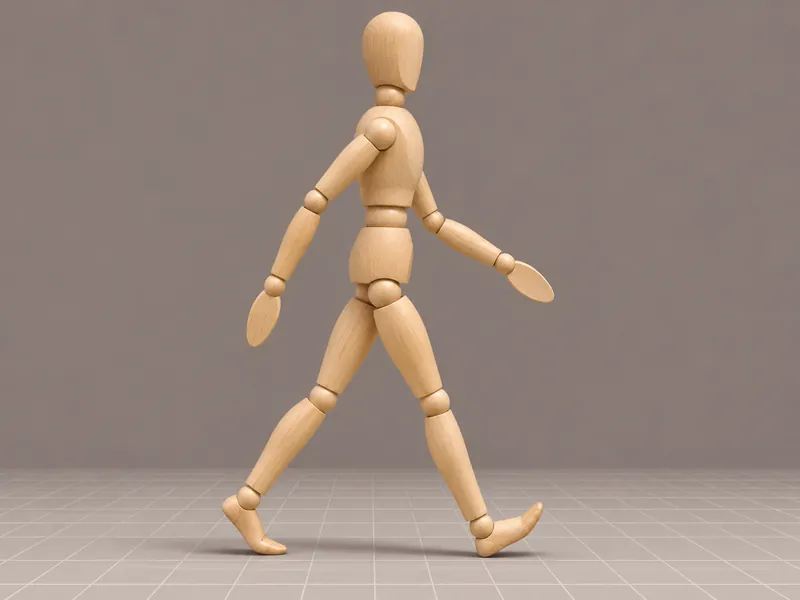
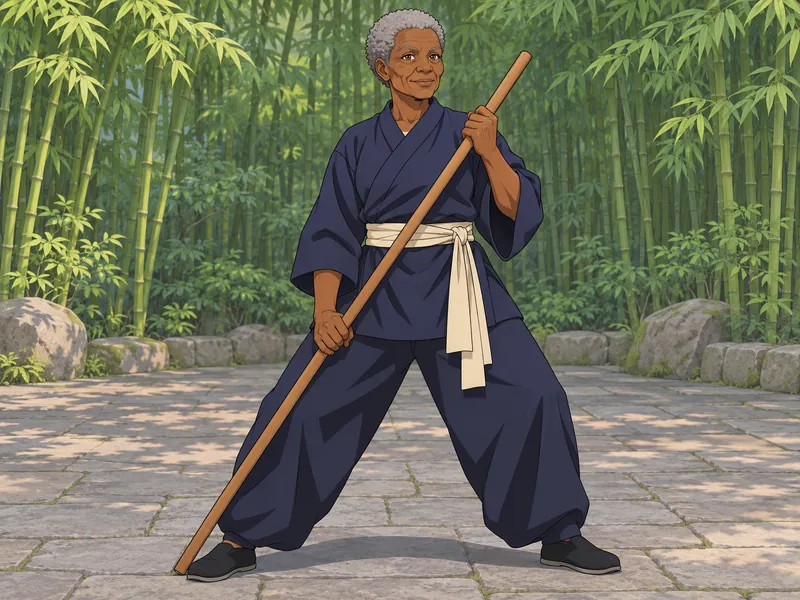
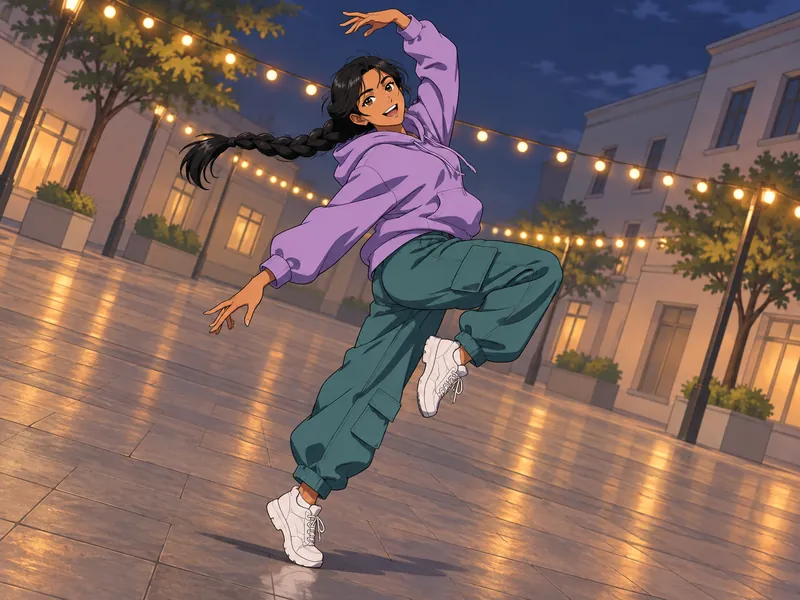
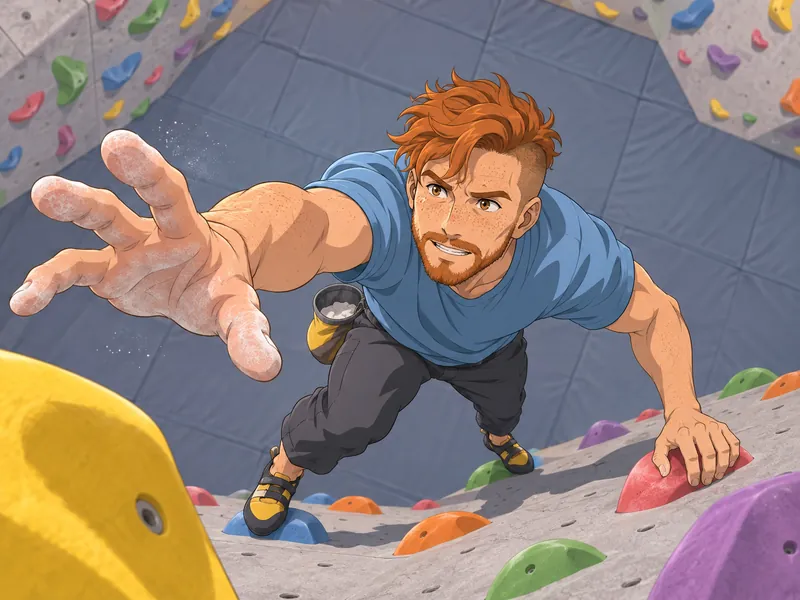
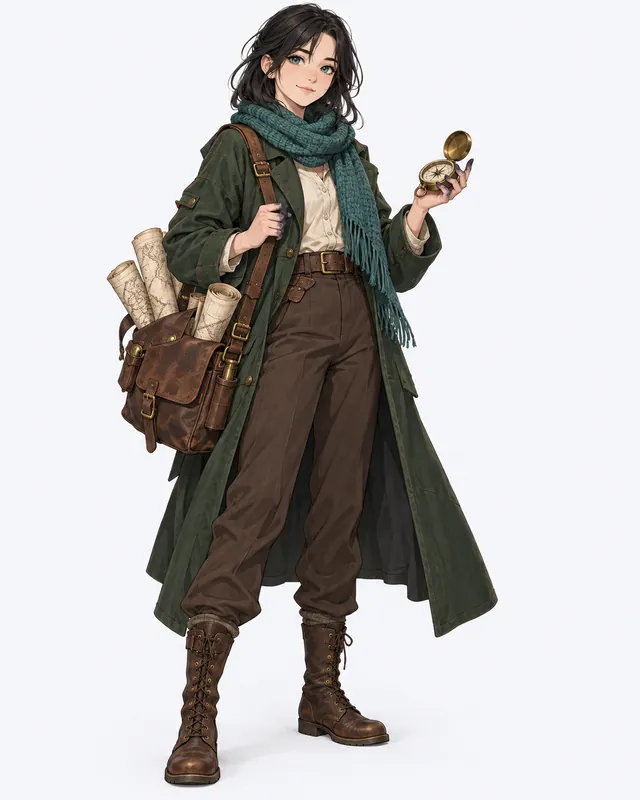
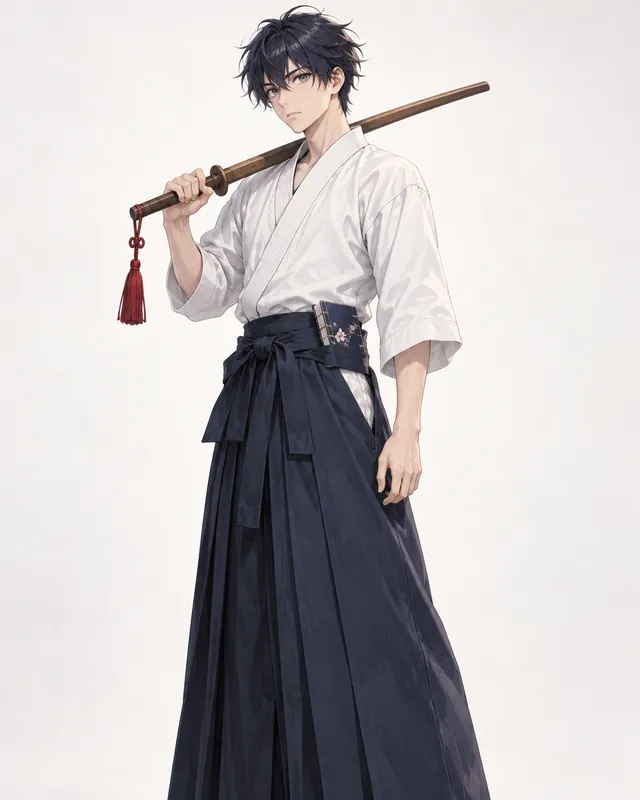
Each card pairs one pose family with a camera choice that shows it off, put on a different original character, plus one plain mannequin for pure pose study. Load a card into the pose generator to bring its pose, camera angle, lens, body view, line of action, weight, hands and expression along, then replace the person with your own OC. Every pose here is one an art class or a sports team would use: fully clothed, all ages, and any prop held at rest.
Know the rules
A pose generator gives you more when you know what makes a pose read. These are the ideas figure drawing classes teach first: the line of action, weight and contrapposto, a clear silhouette, the camera angle, foreshortening, hands and the mannequin. Each one has a Make one button that loads its settings into the generator, so you can see the idea in a picture instead of only reading about it.
Sources: Wikipedia: Contrapposto; Wikipedia: Animal Locomotion; Wikipedia: Normal lens
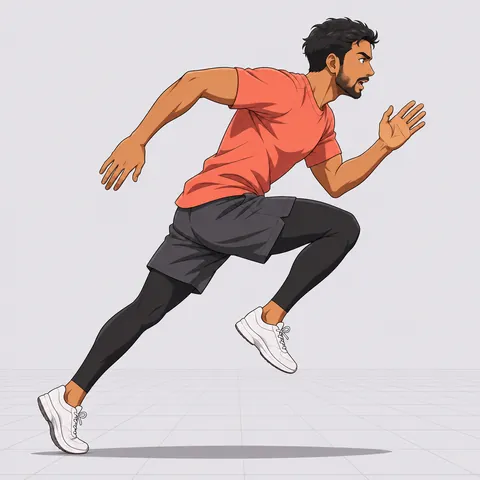
The line of action is an imaginary line that runs through a figure from head to foot and carries the direction of the movement. Animators and comic artists sketch it first, before any anatomy, because a pose built on one clear line reads at a glance while a pose built joint by joint tends to look stiff. Three shapes cover most poses: a C curve for a body that arches or coils, an S curve for a relaxed or graceful stance, and a straight diagonal for a sprint, a push or a fall. The runner on this tile leans along one straight diagonal from the back heel to the top of the head. Choose the line before the details, then let the arms, the hair and the clothes follow it.
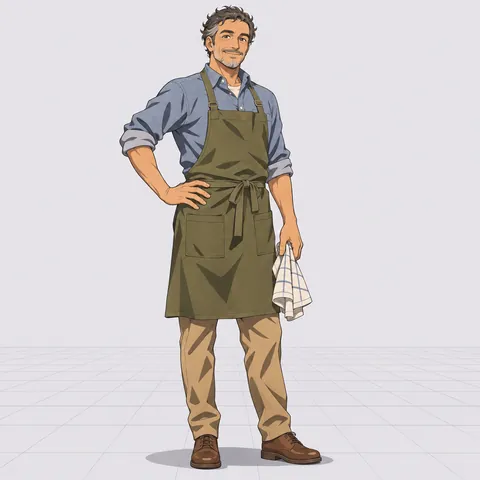
Contrapposto, Italian for counterpoise, is a standing pose with most of the weight on one leg. Greek sculptors began using it in the early 5th century BC, and it is still the quickest way to make a standing figure look alive. When one leg takes the weight, the hip on that side rises, the shoulders tilt the opposite way and the free leg relaxes with a soft knee. Art books call the two legs the engaged leg and the free leg. The café owner on this tile rests on one leg with a hand on his hip, so his shoulder line and hip line lean toward each other instead of running parallel. For a reference you will actually use, keep the shift modest and both feet in view.
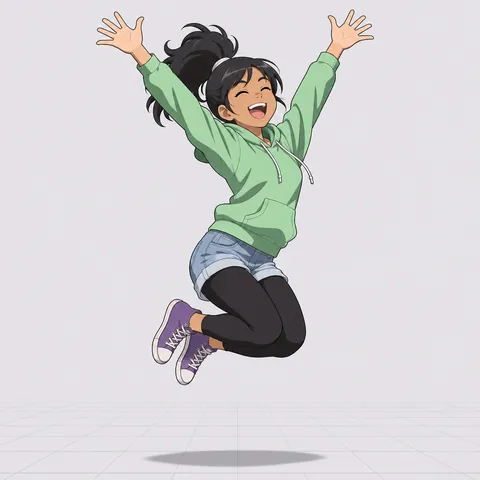
Fill a figure in with flat black and the pose either still reads or it does not. A strong silhouette keeps the arms and legs away from the torso, shows the gaps between them and points the head, hands and feet in clear directions. A jump with both arms flung up and the knees tucked reads as joy even with no face at all; the same jump with the arms folded over the chest turns into a blob. Choose Silhouette in the Figure picker to test any pose this way before you spend time on a detailed version. If two limbs overlap, turn the body toward a three-quarter view or move the camera until the empty spaces between the limbs open up again.
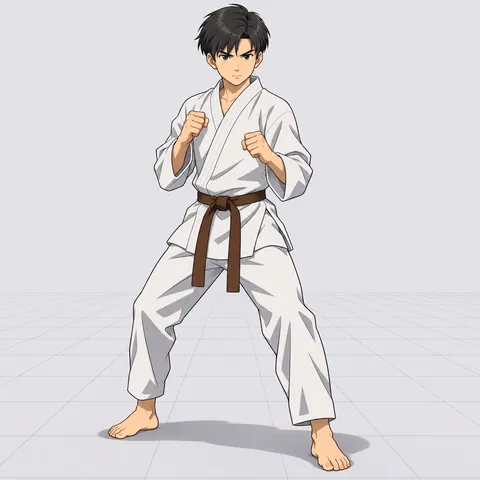
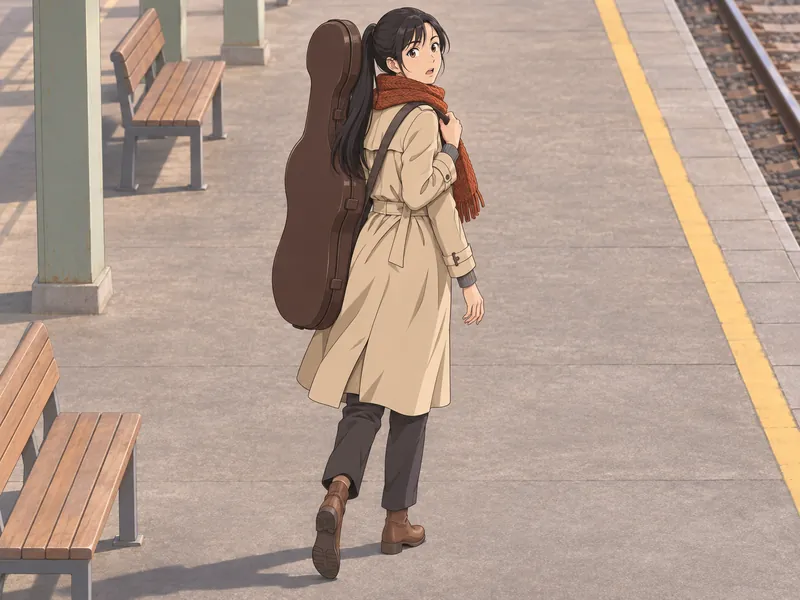
The same stance changes meaning when the camera moves. At eye level it is neutral and honest, which makes it the best default for a reference. A low angle makes the figure tower over the viewer and reads as strong or heroic, and a worm’s-eye view from the ground pushes that to the extreme. A high angle makes the figure smaller and more vulnerable, and a bird’s-eye view from straight above turns the pose into a map of the body on the floor. A dutch tilt rotates the horizon to add unease or energy; film writers connect it with German Expressionist films of the silent era. Change one setting at a time so you can see what each one does to the same pose.
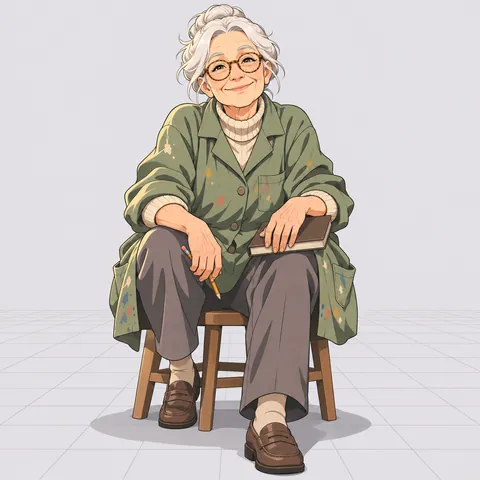
Foreshortening is what happens when part of the body points toward the viewer: its length shrinks on the page while the end nearest the camera grows. A seated figure seen from the front is the everyday example. Her thighs aim almost straight at you, so they nearly vanish behind the knees, which is why the painter on this tile looks compact even though she sits comfortably. A wide lens close to the subject exaggerates the effect, so a fist or a sneaker pushed toward a 24 mm lens can look bigger than the head, while a telephoto lens from far away flattens it. Choose Strong foreshortening when you want the dramatic version and Normal 50 mm when you want to check proportions.
Hands carry as much of a pose as the face does, and they are also where AI pictures most often go wrong. Give each hand a job: one grips a strap, one points, one rests on a knee, one makes a loose fist. A hand with a job has a clear shape, and a clear shape is easier for you and for the generator to get right. Open, relaxed fingers with a gentle curl are the safest request; spread fingers and complicated gestures fail more often. If a hand still comes out wrong, keep the rest of the pose and redraw that hand from your own hand in a mirror or a phone photo. That is how many artists learn hands anyway, and the pose around it is still useful.
Artists have drawn from jointed wooden figures for centuries; the Renaissance painter Fra Bartolomeo is credited with inventing the full-size jointed lay figure for studying draped figures. A mannequin strips away hair, clothes and face, so all that is left is the pose: where the joints bend, where the weight sits and which way the chest faces. Use the Mannequin figure while you are working out a pose, then switch to Character with the same settings to see how a coat, a long braid or a heavy bag changes it. The Clothed mannequin option sits in between and shows how a loose hoodie folds at the elbows and waist in exactly the same position.
Pose names and cues
A pose library is easier to use when every pose has a name you remember, the way dancers and martial artists name their moves. This free mixer pairs an image word with a movement word, such as Comet Landing or Willow Pivot. The name labels your result card and stays out of the picture. Then pick a pose cue below: each one fills the Pose notes box with the three or four body details that make that pose read, which you can edit to fit your character.
Image word + movement word
Each cue fills the Pose notes box with the body details that make the pose read.
Guide
A good pose reference answers the questions you get stuck on while drawing: where the weight sits, what the far arm is doing, how the legs look from below. Work through these five steps in order and the drawing pose generator will give you a picture that answers them, instead of a pretty image that hides the hard parts.
Before you touch a setting, say what is happening in one short sentence: she lands after a jump, he turns when someone calls his name, they are waiting for the bus. That sentence picks the pose family for you. A landing is Hero landing or Crouching, a turn is Looking back, a wait is Standing or Leaning. The five illustrated families (Standing, Action, Running, Jumping and Sitting) cover most comic panels and character sheets, and the other nineteen chips cover the rest, from Climbing to Carrying. If nothing fits, tap the selected chip again to clear it and describe the pose in the Pose notes box instead.
Pick Mannequin when you are studying the pose itself; a plain wooden figure shows the joints, the weight and the direction of the chest with nothing in the way. Pick Character when you need to see how your OC’s outfit behaves, and describe them in the details box: age, build, hair, clothes and any prop. Clothed mannequin is the middle ground for watching fabric fold, and Plain clothes gives you a simple figure in a T-shirt and track pants that is easy to redraw in any costume. Silhouette shows the pose as one flat shape, which is the fastest way to check that it reads.
Start at Eye level with a Normal 50 mm lens and a Three-quarter view; that is the most honest picture of a pose and the easiest one to measure. Then change one setting at a time. A low angle or a worm’s-eye view makes the figure feel powerful, and a high angle or a bird’s-eye view makes it feel small or shows the pose like a floor plan. A Wide 24 mm lens up close stretches whatever is nearest, Strong foreshortening pushes a hand or a foot toward you on purpose, and Orthographic removes perspective entirely, which is what you want for turnarounds and animation key frames.
Pick a line of action first: a C curve for a coiled or arched body, an S curve for an easy stance, a straight diagonal for a sprint or a push, a spiral twist when the shoulders turn against the hips. Then say where the weight is: both feet, one leg in contrapposto, the ball of one foot, or airborne. Give each hand a job in the Hands picker, and choose an expression that matches the moment, because a fierce face on a calm stance reads as a mistake. Finally, add three or four specifics in Pose notes, such as which foot is forward or where the chin points, or pick a ready-made pose cue from the list below.
Open the result at full size and check the same things a teacher would: is the line of action still there, does the weight sit over the supporting foot, are there five fingers on each hand, do the feet touch the ground where they should? Generated poses can bend a joint the wrong way or merge two fingers, so treat the picture as a strong starting point and correct it in your drawing. When a pose works, switch the output to Ref sheet to see it from the front, the side and the back. Save the settings and the pose name so you can come back to the same pose with a different character later.
Keep exploring
Tools
FAQ
Sign up and your first pack comes with 100 bonus credits.