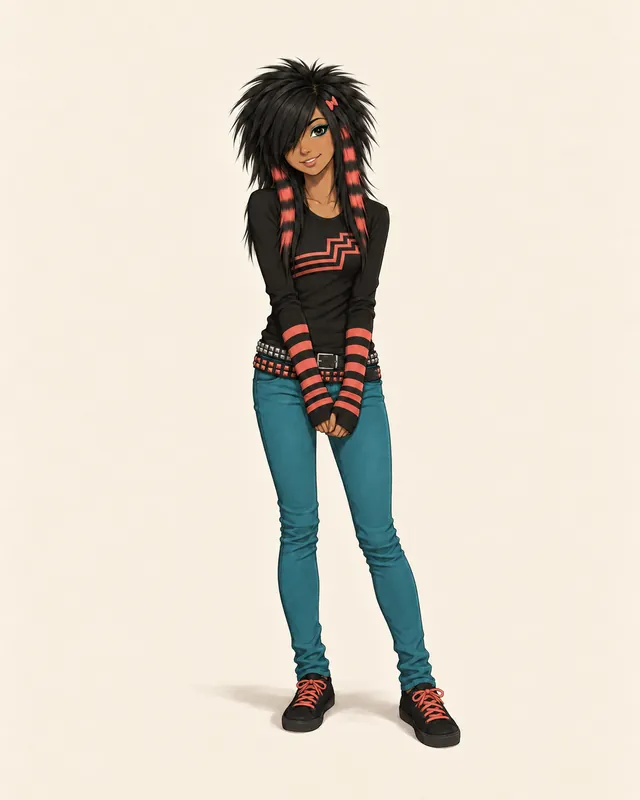
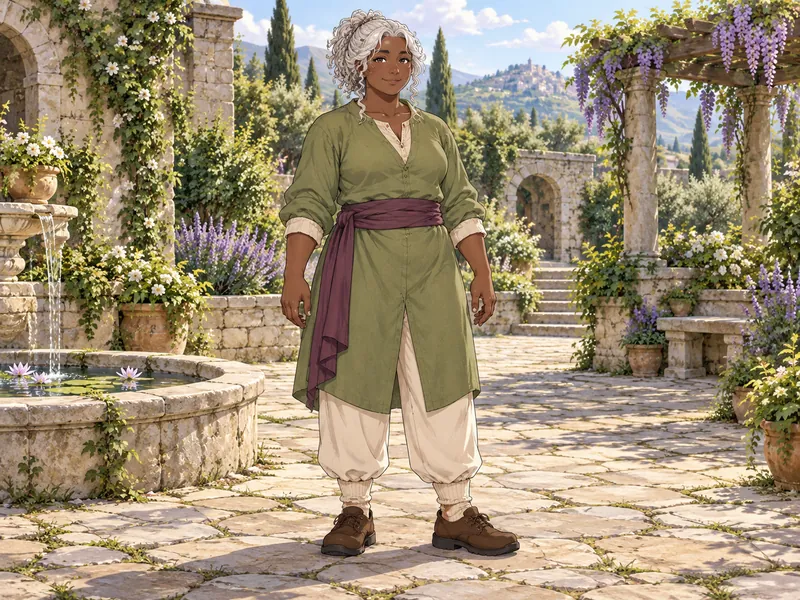
Brenna Mossledger
Fantasy- A gardener on a long errand
- Sage tunic, plum sash
- Practical shoes for stone paths
This full body OC creator starts with the whole silhouette: hair, shoulders, outfit, hands, socks, and shoes. Choose a genre, decide how your character stands, and build a design that makes sense from head to toe. A courier needs room to move, a gardener needs practical soles, and a space mechanic needs gloves that belong to the same outfit as the boots. Start from a complete example below or describe your own teen or adult original character.
Ideas
Each idea starts with a different job, wardrobe, and body shape. The outfit has an upper, middle, and lower section, so a memorable haircut never has to carry the entire design. Try an idea to load its details, then change one important choice: the fabric weight, the footwear, the posture, or the reason the character is outside. Keep the complete figure visible while you compare versions.
Art styles
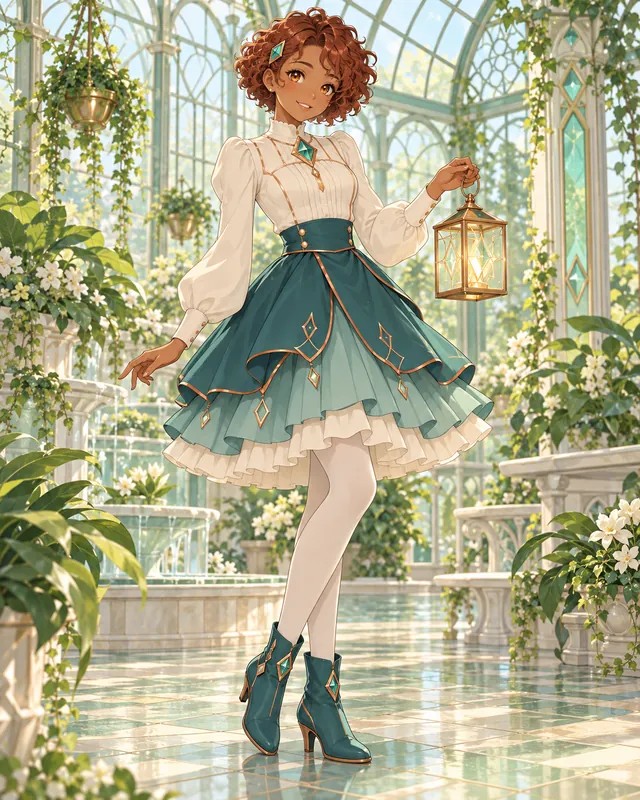
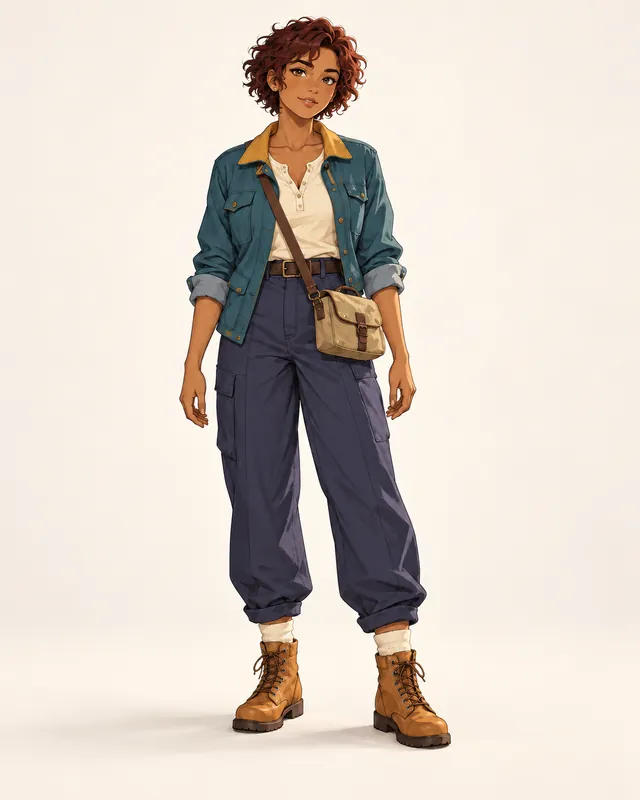
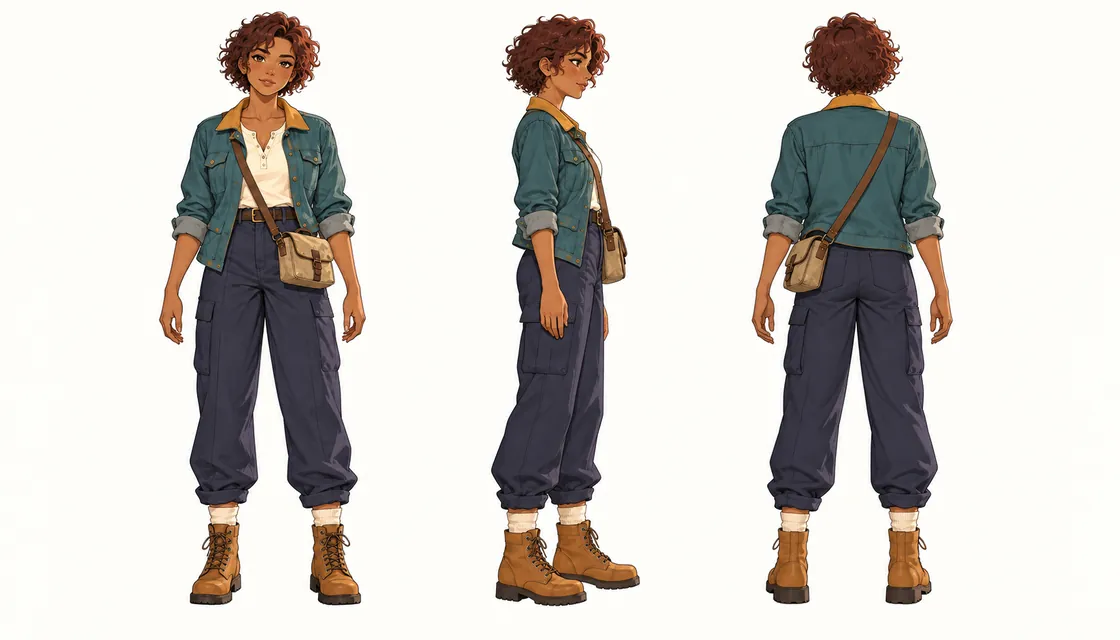
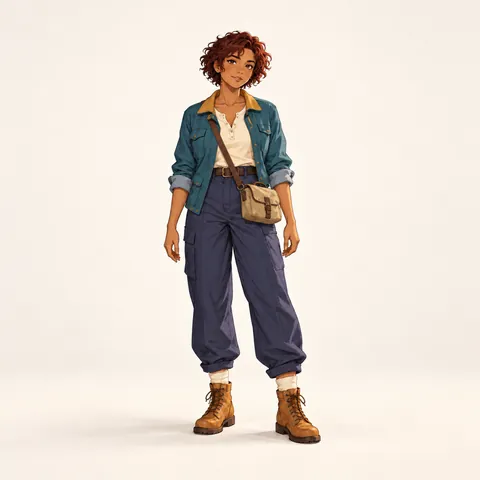
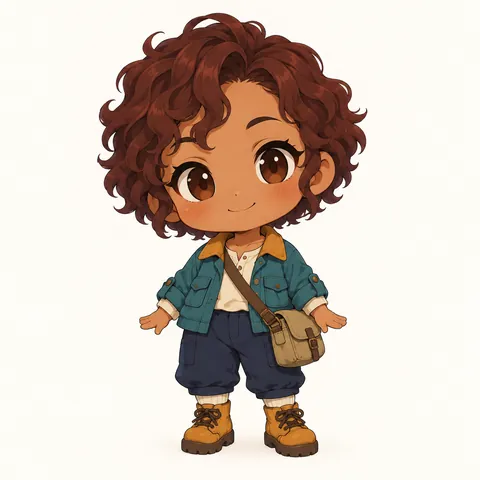
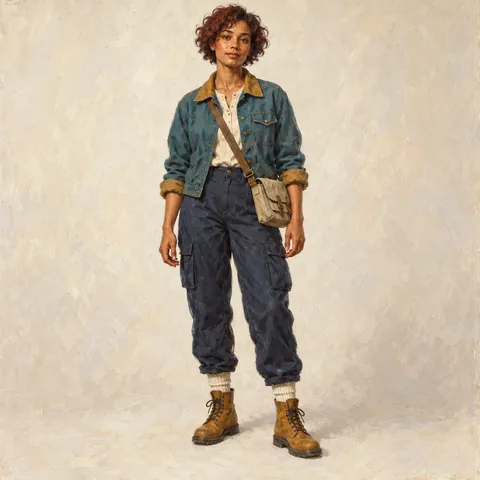
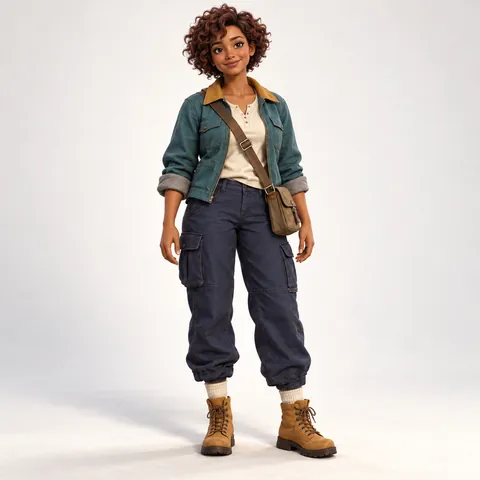
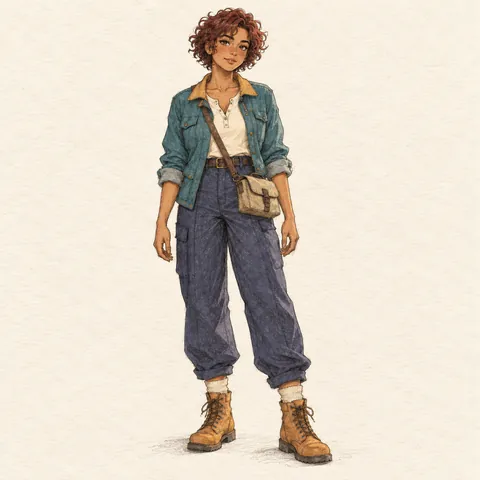
Tessa Brindlepath keeps the same medium brown skin, short dark auburn curls, teal utility jacket with ochre collar, cream shirt, navy trousers, cream socks, and ochre boots in every version. Compare the whole figure, not just the face. Chibi compresses the proportions; the sketch simplifies the surfaces; neither should quietly delete her footwear or change the jacket into a different costume. The reference sheet shows front, side, and back views for checking how the satchel strap and jacket seams continue around the body. Generated views can disagree, so use your written design notes to settle small differences.
Know the rules
A readable design gives the eye a path from the head to the ground. The six genre choices are starting points for clothes and materials, not restrictions on who your character can be. Short, tall, lean, broad, and plus-size figures can belong in any genre. The head-count examples are drawing conventions for planning a picture, not biological standards or rules about age, gender, or worth. Choose the silhouette first, then decide which details deserve attention at the size you will actually share.
Sources: CLIP STUDIO PAINT: chibi proportions; Adobe: drawing people and proportion guides
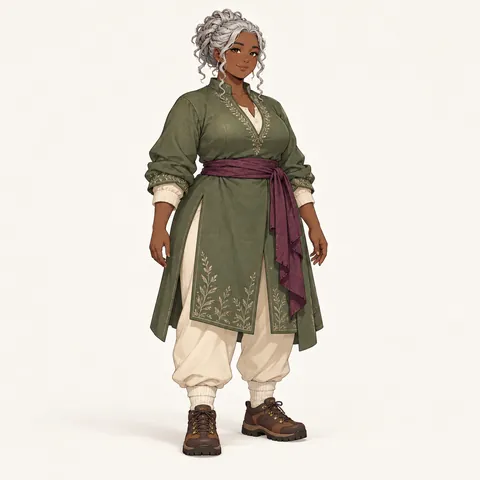
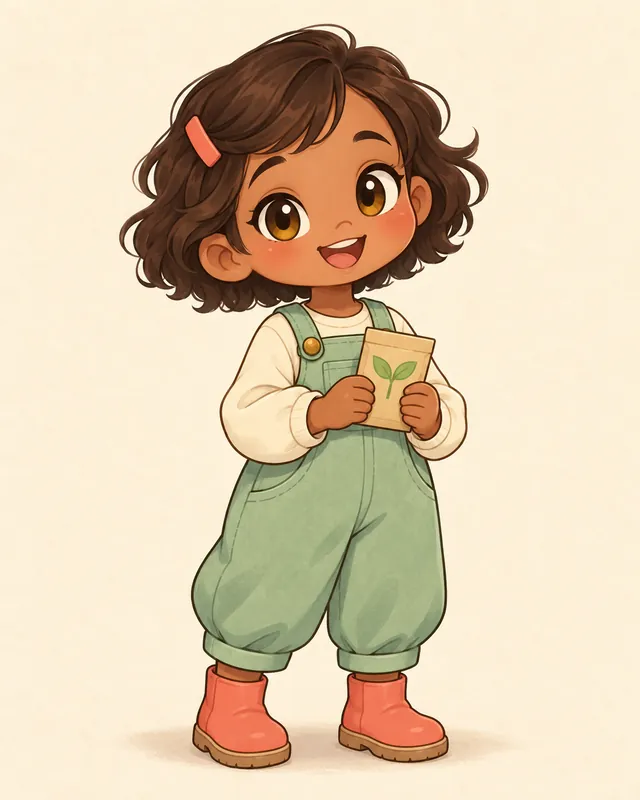
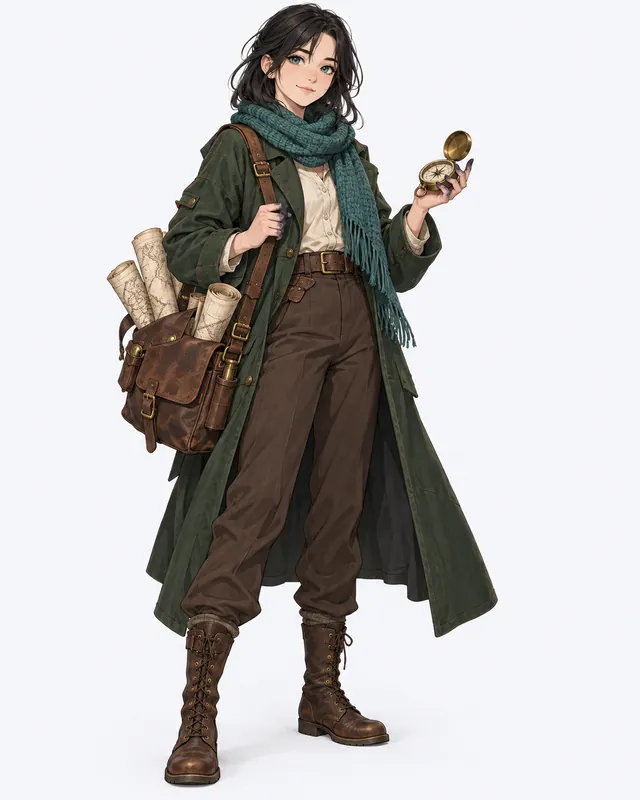
A long tunic can suggest travel or craft without borrowing a famous adventurer costume. Decide where the hem ends, whether the legs can take a full step, and what sort of ground the shoes meet. Brenna has broad walking shoes and visible socks because a garden errand involves more than posing for a portrait. Keep a small opening between the legs and a clear gap between each hand and the clothing. A cloak that swallows both arms may look atmospheric, but it gives another artist less information. Start with practical layers, then add one unusual fastening, fabric edge, or pocket shape that belongs to your own world.
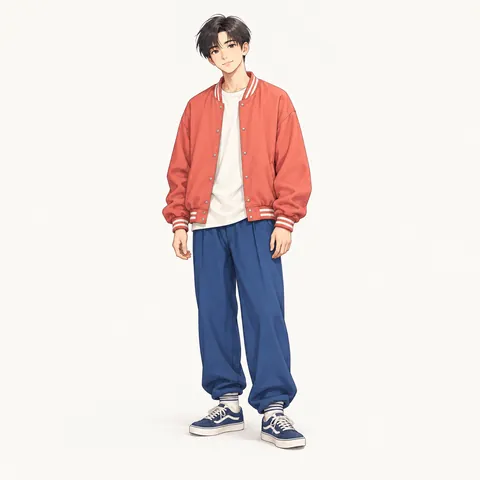
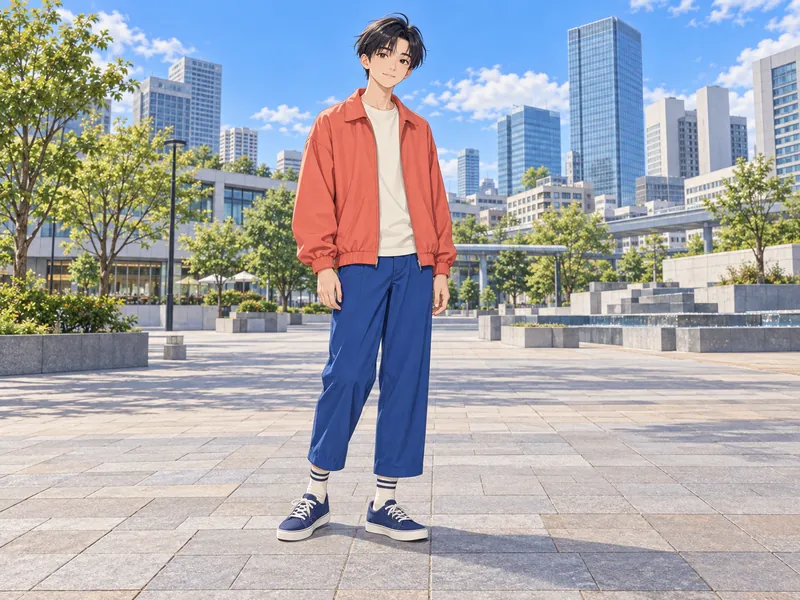
An oversized jacket and wide trousers can still form a clear silhouette. Show where the jacket stops, where the trouser cuffs begin, and how the socks bridge the gap to the sneakers. Use one dominant clothing color and a smaller repeated accent rather than unrelated bright details on every garment. Ren’s coral jacket is the large shape; cream at the shirt and ankles ties the upper and lower outfit together. A six-head anime teen is a useful stylized starting convention here, but it is not a required body measurement. Keep the teen’s clothing and pose age-appropriate, and specify visible hands if pockets tend to hide them.
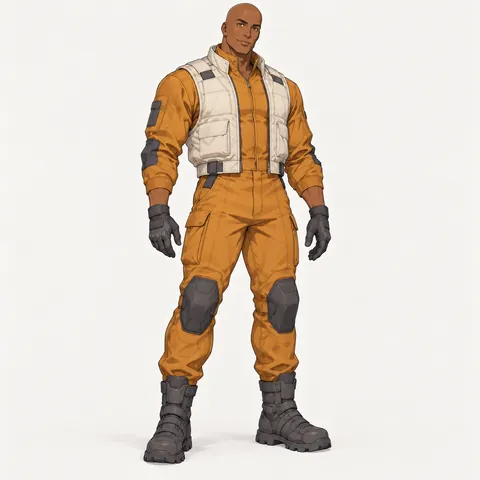
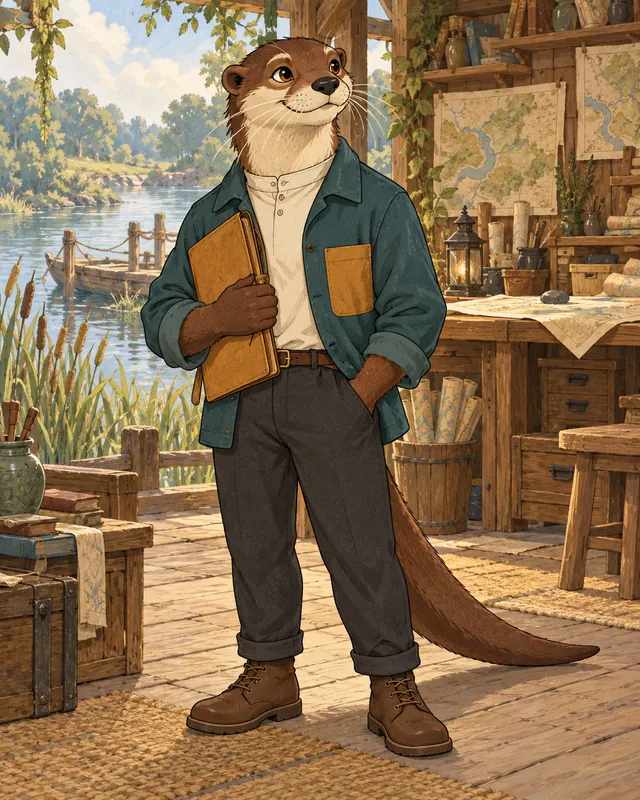
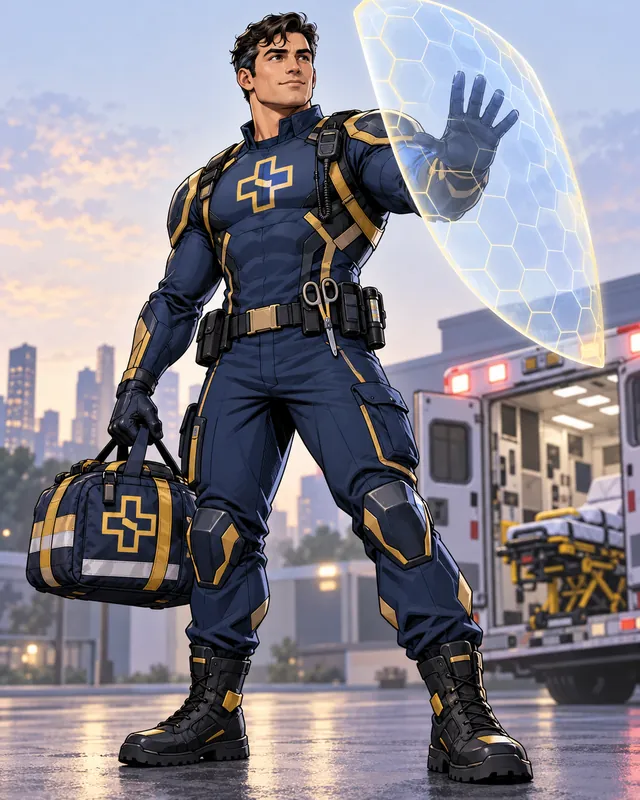
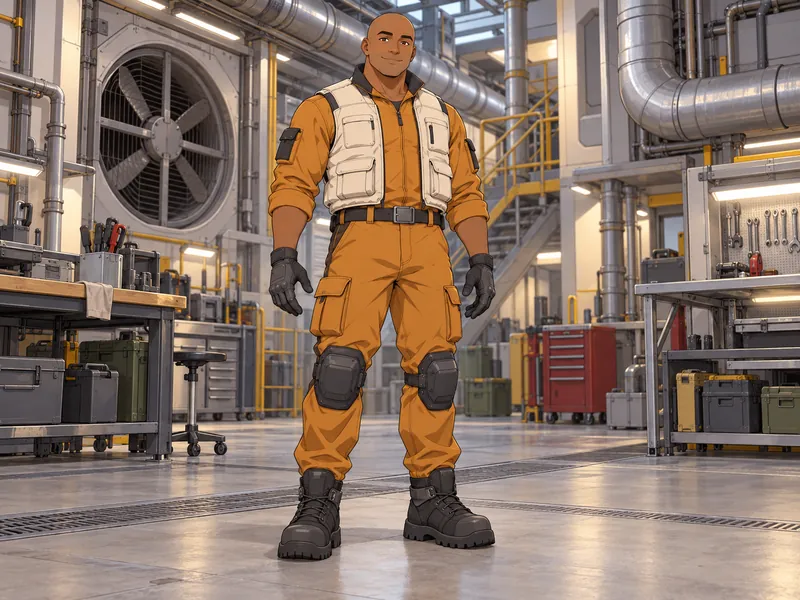
A future worker looks convincing when the gloves, knee protection, and boots appear to be made for the same task. Repeat a panel shape or fastening instead of placing a logo everywhere. Oren’s bulky boots balance the padded vest, while flexible joints make the suit look wearable. A heroic eight-head convention can stretch an adult silhouette, but broad shoulders do not require a tiny waist or enormous hands. Write the job before the equipment list, then remove anything that blocks the figure. If the character works indoors, a practical sole and a small tool pocket may tell the story more clearly than a huge backpack.
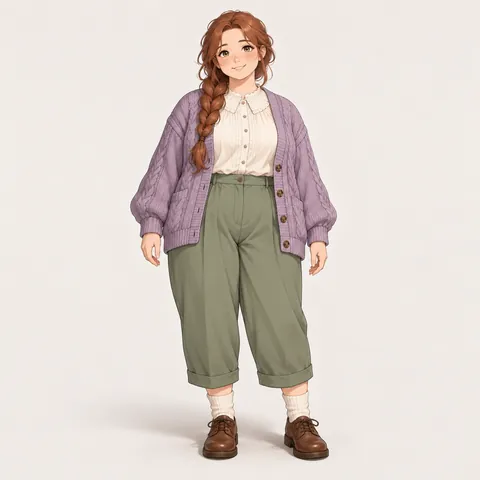
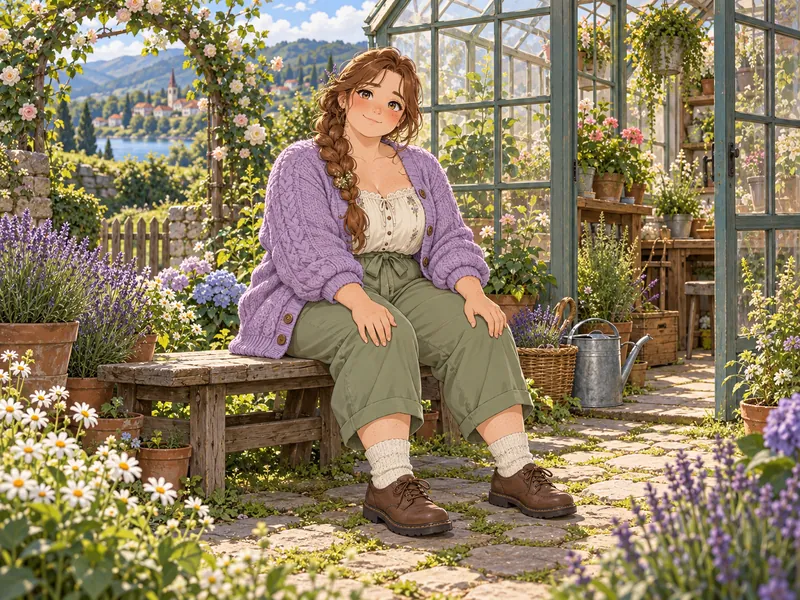
Sitting is still a full-body design when the whole figure fits inside the image. Name the seat, place both feet, and say where the hands rest. Mara sits on a low bench with her shoes on the path, so the legs do not look suspended and the skirt or trousers do not merge into the seat. Soft knitwear needs a visible sleeve ending and a readable wrist, even when the cardigan is roomy. A natural adult convention around seven to eight heads is only a planning aid; the seated figure compresses and overlaps those lengths. Preserve the chosen body type instead of treating a pose change as a reason to redraw the character thinner.
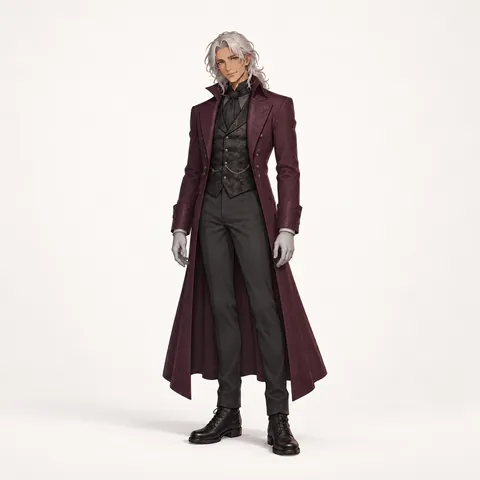
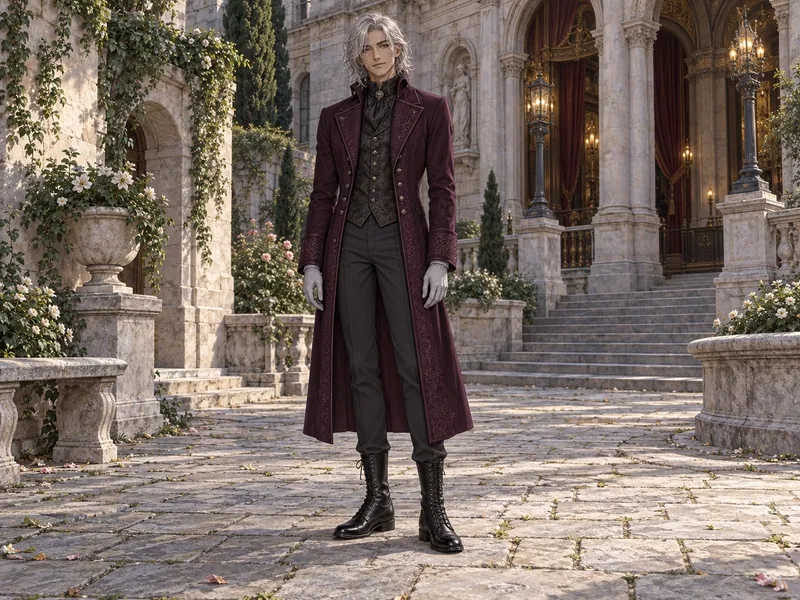
Dark clothing needs separation at the ankles, wrists, and coat opening. A plum coat against charcoal trousers is easier to read than one uninterrupted black shape. Silas’s coat ends before the boots, so the lower outfit remains a design choice rather than an accidental crop. Keep pale gloves visible outside the pockets when the image is meant as a reference. A long vertical silhouette can feel gothic without a borrowed villain hairstyle, an official symbol, or an oversized weapon. Check the image at thumbnail size: if the legs disappear into a single dark triangle, lighten the trouser value or shorten the coat before adding more decoration.
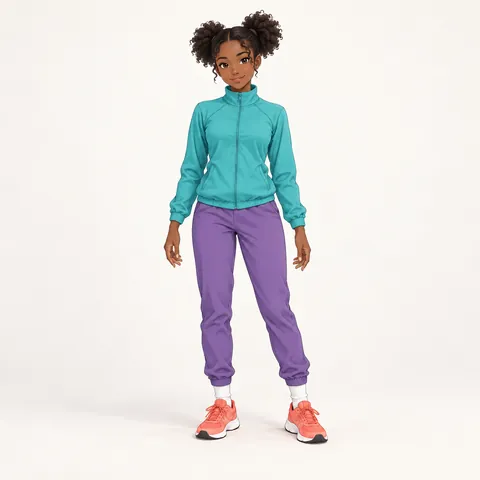
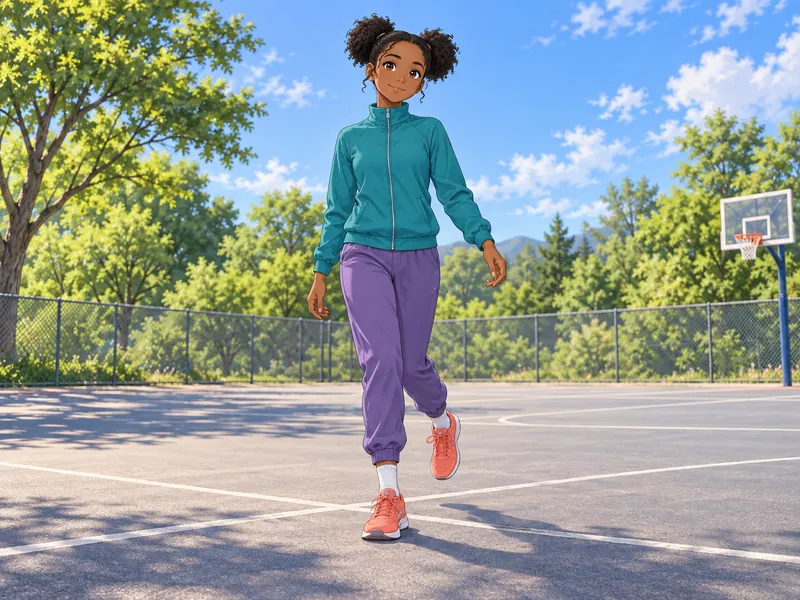
An action pose needs somewhere for the character’s weight to go. Start with a small step, a planted supporting foot, and arms that remain inside the frame. Imani’s coral shoes make that contact point easy to find. Save a dramatic jump for a later illustration after the outfit is established. Contrapposto is another useful option: one planted leg carries most of the weight while the other relaxes, creating a small tilt through the hips and shoulders. It should not look like the torso is floating separately from the legs. Use the same shoes, socks, and trouser length across standing and action versions so movement does not erase the design.
Names and details
The local name mixer pairs a first name with an invented surname. Treat the result as a working label, then choose a visual detail that can be recognized from across a room. A useful signature appears in more than one part of the outfit: a collar color repeated at the boots, a rounded pocket echoed by rounded shoe toes, or matching cuff construction. These suggestions fill the character form without spending image credits. Check any name you plan to publish because a mixer cannot guarantee that nobody else has used it.
Given name + invented surname
A visual connection between the upper and lower outfit
Guide
Write your prompt in the same order that someone reads a standing figure. Establish the person and the large shapes before describing tiny accessories. This makes revisions easier: when the footwear changes, you can find that sentence without rebuilding the rest of the character. The full body OC maker offers full-body and reference-sheet outputs so your first decision stays focused on a complete design.
Begin with an original teen or adult character, their body type, skin tone, and role. Then choose proportions: chibi around two to three heads, an anime teen around six, a natural adult around seven to eight, or an elongated heroic adult around eight. These are flexible art conventions, not measurements to impose on real people. Chibi changes the relative size of the head and limbs; it does not automatically change an adult character into a child. Keep age and styling explicit in the description. If you have a specific body shape in mind, state it directly instead of hoping a genre label will imply it.
Move through hair, collar, outer layer, shirt, sleeves, hands, waist, trousers or skirt, socks, and shoes. For Tessa, that becomes short auburn curls, an ochre collar, a teal utility jacket, a cream shirt, loose navy trousers, cream socks, and ochre lace-up boots. Include where each garment ends: sleeves at the wrists, trousers above the boot collars, jacket around the hips. A complete description prevents the lower outfit from becoming an afterthought. Choose one detail to repeat across the figure, then leave room for ordinary clothing between accents. Avoid asking every item to be the main focal point.
For a first design, use relaxed standing with both feet grounded and both hands visible. For contrapposto, name the weight-bearing leg and keep the other leg relaxed. For action, begin with a controlled step rather than a leap that might send a hand out of frame. For sitting, name the bench or chair and place both shoes on the floor. Add a plain background while checking the pose; busy scenery can hide weak contact points. Look for a consistent ground plane under both feet and a plausible connection between the hips, knees, and ankles before judging the costume details.
Select Full body and finish with: whole figure from the top of the head to the soles of both shoes, both hands visible, space above and below. This page keeps portrait output out of the picker and illustrates its examples head to toe, but an image model can still crop or distort a result. Inspect the full-size image before keeping it. Check each wrist, finger group, trouser cuff, ankle, and sole. If a foot is missing, simplify the pose and ask for a wider composition; do not accept a cropped result just because the face looks good.
Once the standing design works, choose Ref sheet and request front, side, and back views of the same fully clothed character. Repeat the exact outfit description and ask for the same height, colors, shoes, and accessories in each view. Describe the back of the jacket and the satchel strap instead of leaving them to chance. Compare seam placement, boot height, hair length, and the side carrying the bag. A generated turnaround is a draft reference rather than a production-ready model sheet. Correct inconsistencies in your written notes before handing it to an illustrator or using it to plan another scene.
Other fandoms
Tools
FAQ
Sign up for 10 bonus credits and make your first OC free.