
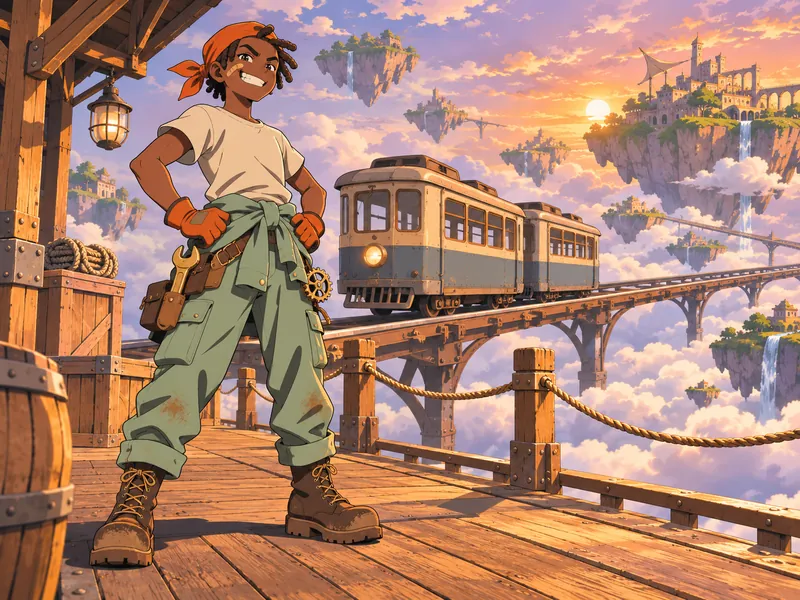
Kofi Ashgrove
Toon anime- Fixes sky trains between islands
- Mint jumpsuit, orange bandana
- Hums the timetable under his breath
This free 3D OC creator draws your original character as a 3D render instead of a flat drawing. Pick a look, from toon-shaded anime 3D and chunky game heroes to vinyl figures, soft clay and low-poly, then choose the surface materials, the lighting, the camera lens, the pose and a display base. Every result is a picture of a 3D-looking character, not a model file, so it is a quick way to see your OC from a new angle before anyone starts modeling.
Ideas
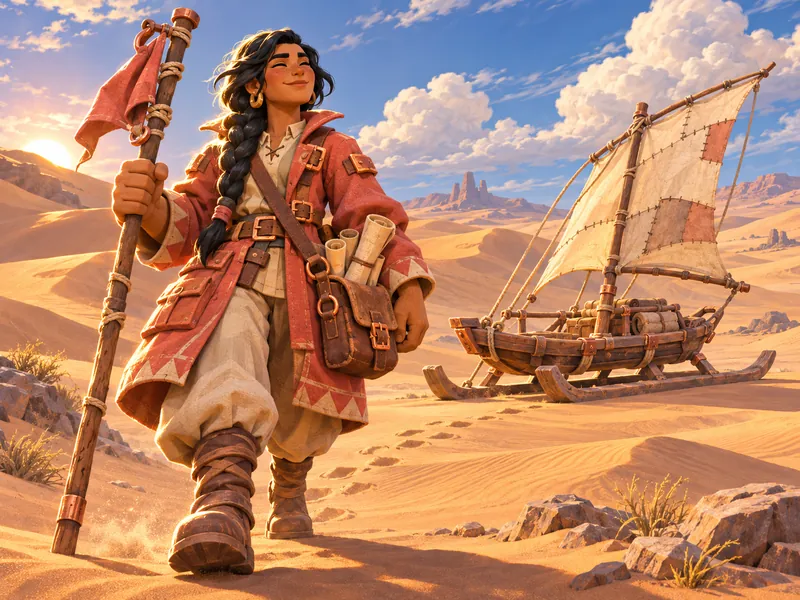
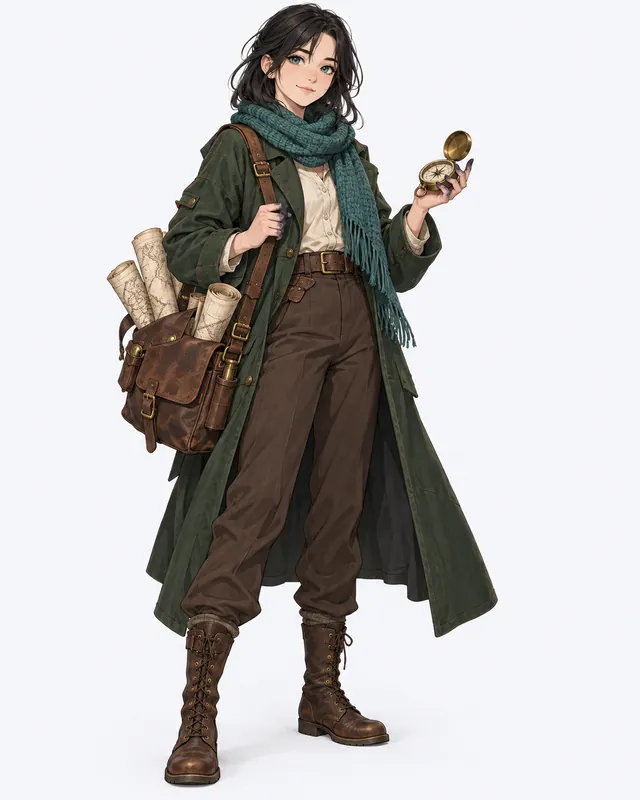
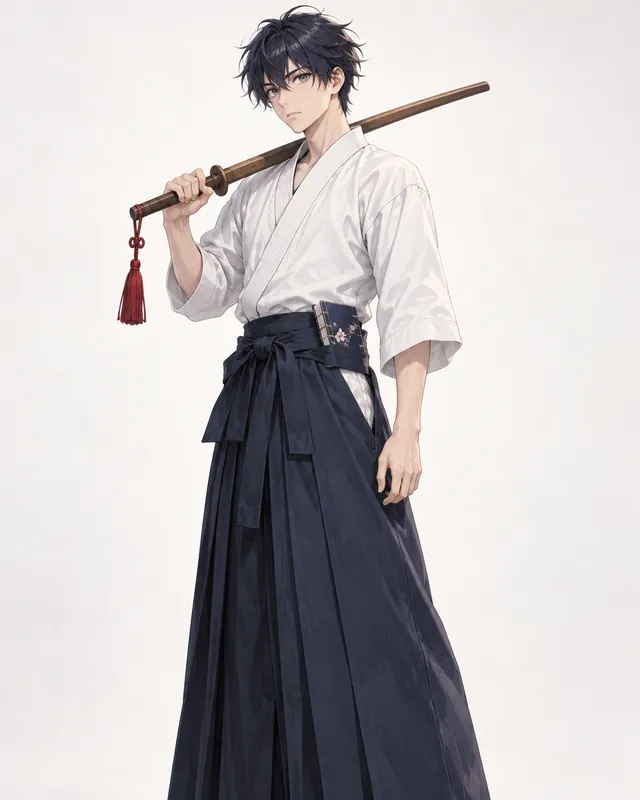
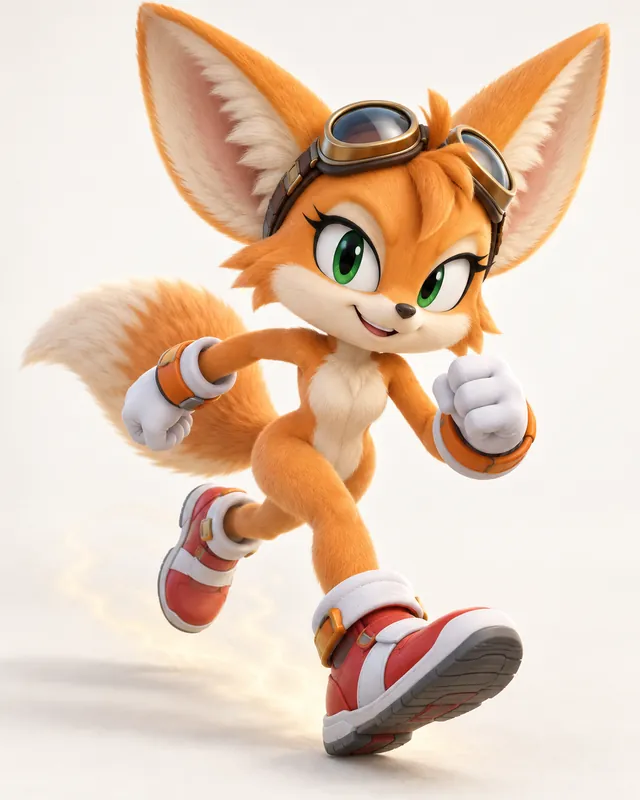
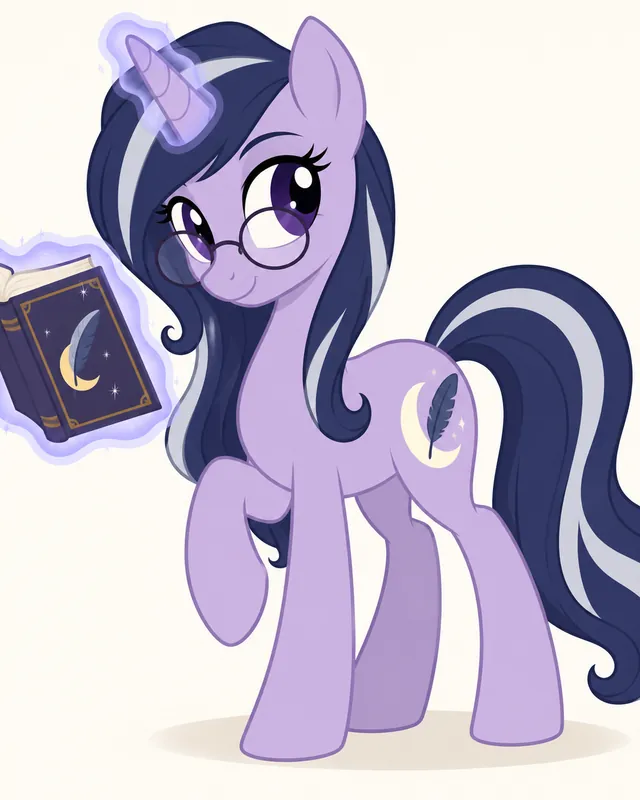
Each card pairs an original character with a different 3D look, so you can compare how toon shading, game proportions, vinyl, clay, chibi and low-poly change the same kind of decision. Load one into the 3D OC maker to bring its look, materials, lighting, camera and base along with it, then swap the parts that are not yours. None of them copies a film lead, a game mascot or a real toy.
Art styles
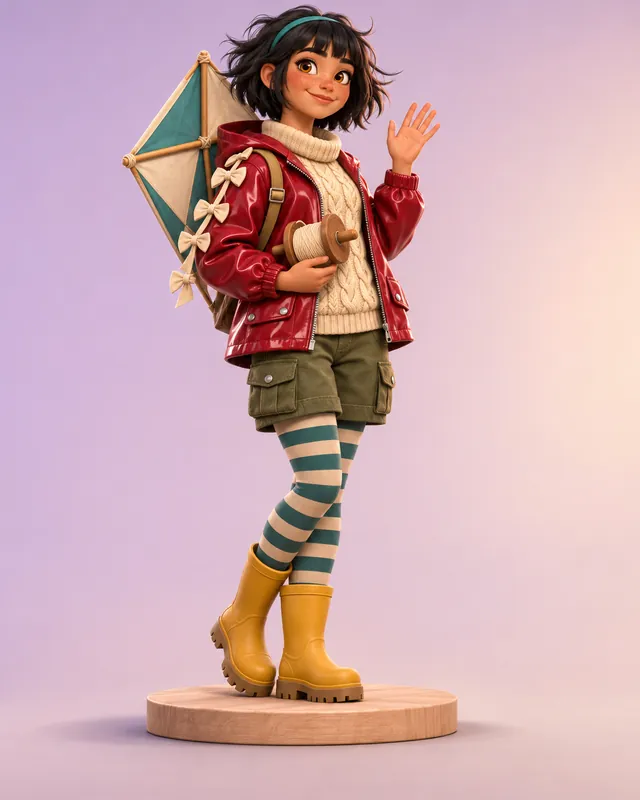
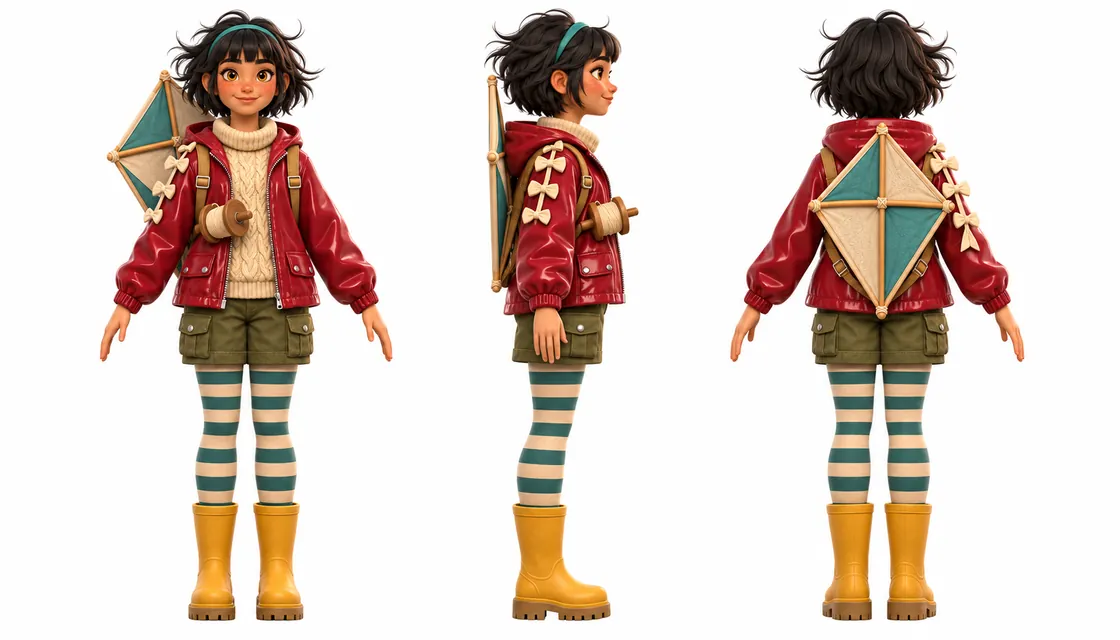
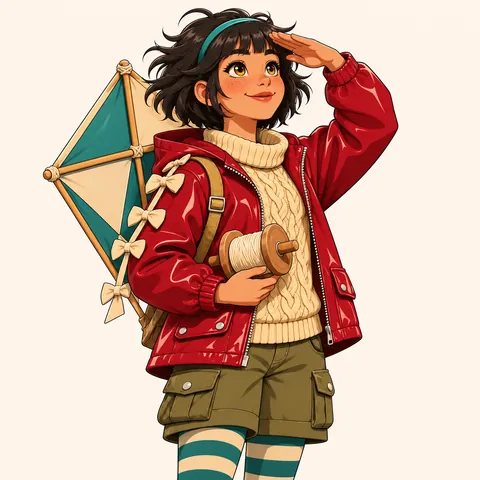
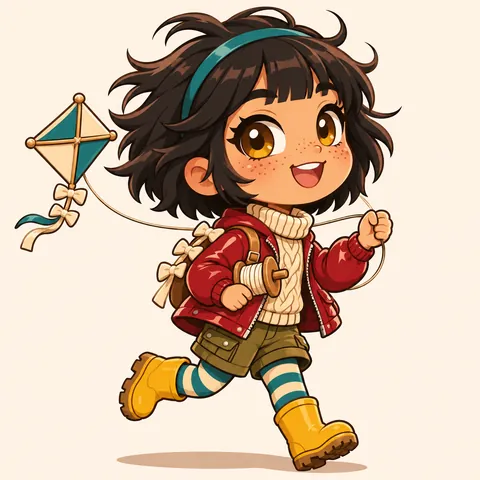
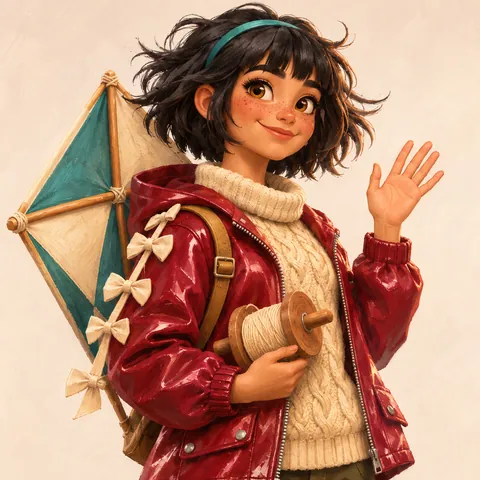
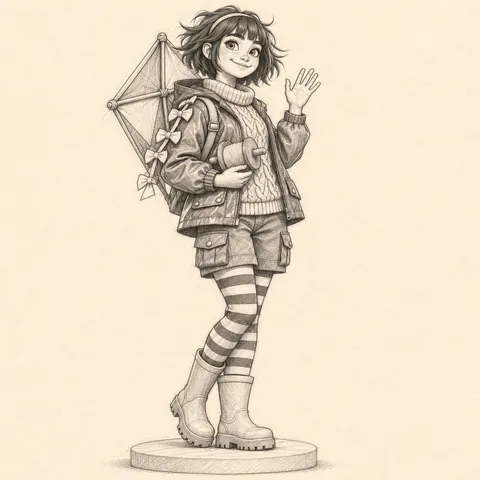
Ottie Fenwick is the sample OC: a young kite maker with warm light-brown skin, freckles, a choppy black shag with a teal headband, a glossy cherry-red jacket over a cream cable knit, striped tights, mustard boots and a teal and cream diamond kite on her back. Her 3D render is the page default and doubles as the 3D thumbnail. The anime, chibi, semi-realistic and sketch versions keep the same jacket, kite and boots, so you can see how much the medium changes before you switch the style picker away from 3D.
Know the rules
A 3D look is a bundle of decisions: how the surfaces are shaded, how big the head and hands are, how much detail the shapes carry and what the character seems to be made of. These notes cover the seven illustrated looks plus the light and lens settings that make a render read as 3D. Each one has a button that loads it into the generator, and none of them depends on naming a studio, a game or a toy line.
Sources: Wikipedia: Three-point lighting; Wikipedia: Normal lens; Wikipedia: glTF

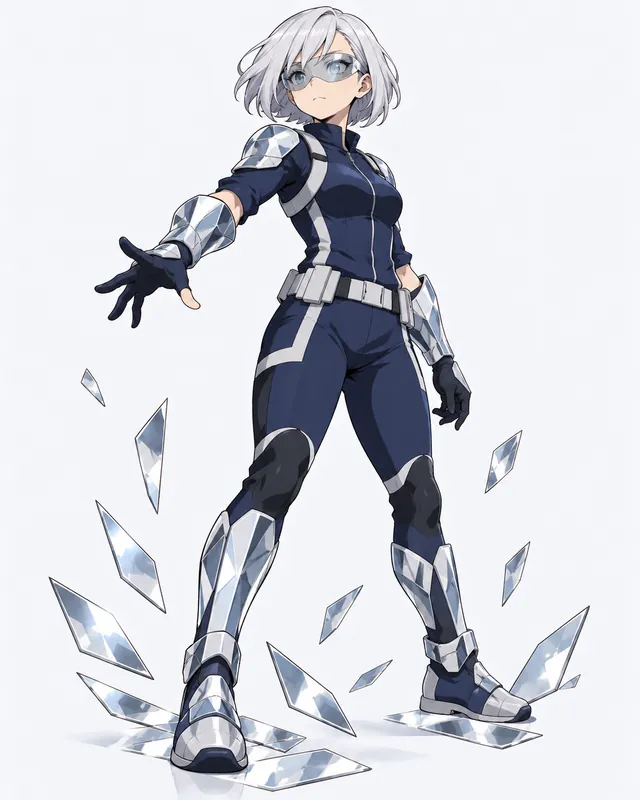
Toon shading, also called cel shading, renders a 3D model so it looks like a 2D anime drawing: a dark ink outline around the silhouette and shadows that snap between two or three flat tones instead of blending smoothly. It is the look most people mean when they search for a 3D anime maker. Design for it the way a 2D artist would. Hair works best as a few large clumps, eyes stay big and simple, and clothing folds become a handful of clean shapes. A rim light helps the outline pop against dark backgrounds. Avoid tiny patterns, because two-tone shading flattens them into noise.
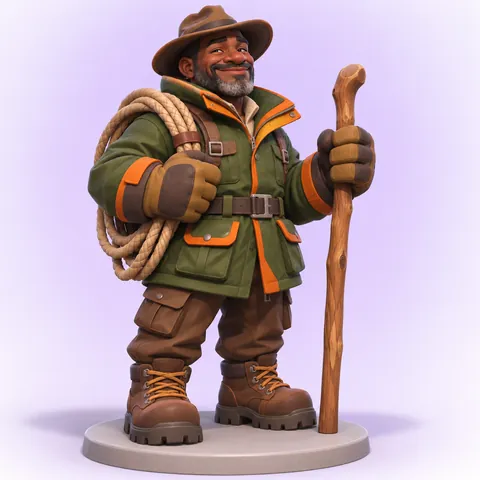
Stylized game characters are designed to be recognized at a distance, often from behind. That is why they get slightly bigger heads, chunkier hands and feet, broad shoulder shapes and textures that look hand-painted rather than photographed. Give your OC one strong outline feature, such as a big scarf, a tall collar, a backpack or a hat, and one prop carried at rest on a shoulder or at the hip. Two or three main colors read better than six. The ranger tile shows the idea: a parka, oversized gloves and a coiled rope tell you his job before you see his face.
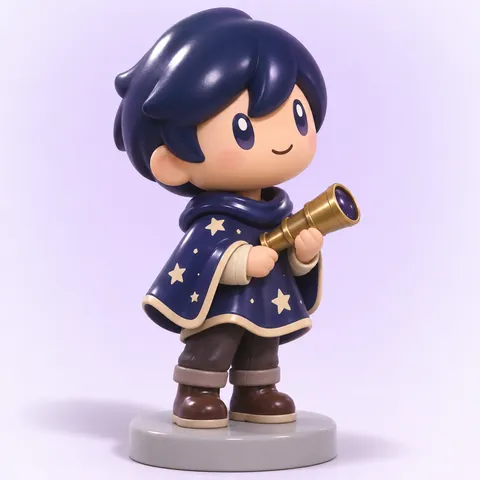
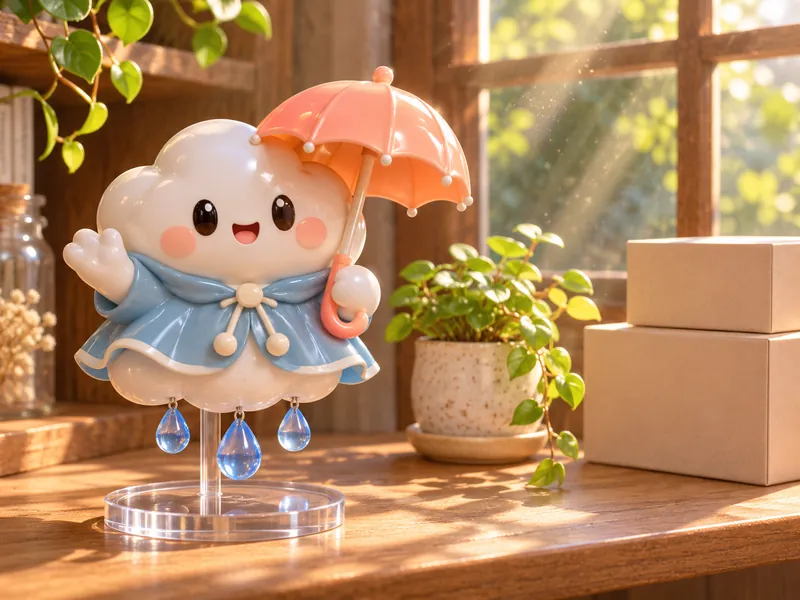
Designer toys, also called art toys, are collectible figures made in small editions from vinyl, resin, plush and other materials. A vinyl figure turns a character into a few smooth, glossy shapes: an oversized head, a compact body, simple eyes and painted details instead of sculpted ones. Pick the two features that make your OC recognizable and drop the rest. A belt full of pouches becomes one pouch; a braided hairstyle becomes one rounded braid. Glossy surfaces need a soft studio light to show their highlights, and a round display base makes the render read as a real figure on a shelf.
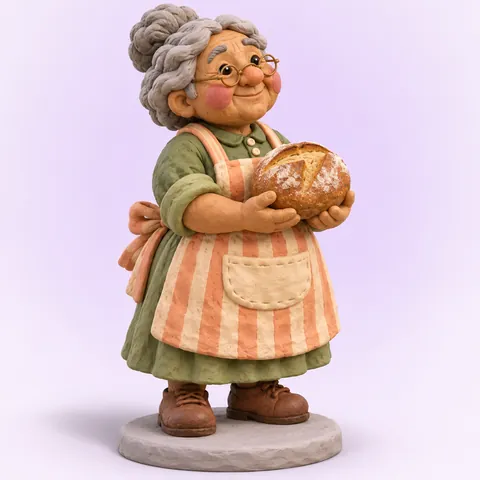
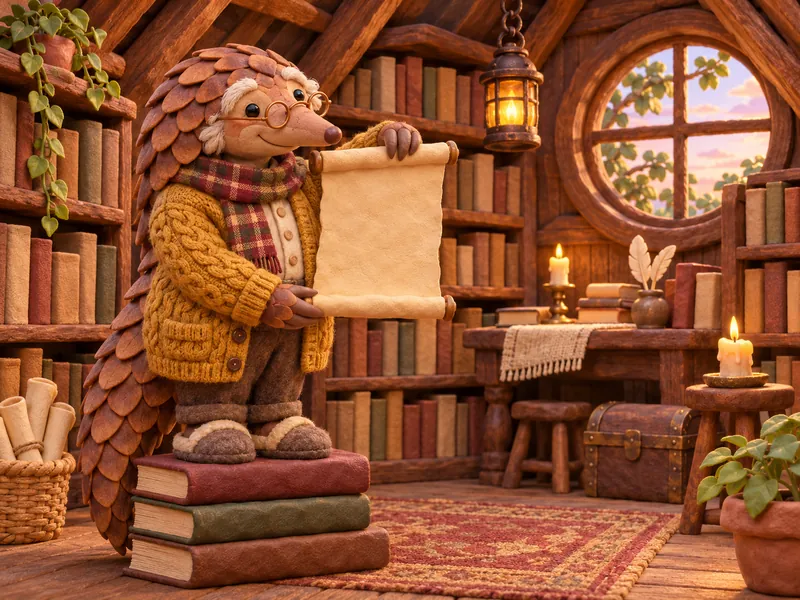
A clay look imitates stop-motion puppets: rounded, slightly lumpy shapes, faint thumbprints, simple bead eyes and colors that look mixed by hand. The charm comes from imperfection, so do not ask for razor-sharp edges or tiny accessories. Thick limbs, a big nose or snout and chunky clothing seams all suit it. Clay also loves warm, soft lighting that reveals the surface texture. The baker on the tile works because her apron stripes are wide, her loaf of bread is big and round and her hair is one soft bun. If your OC has thin parts like antennae or a staff, thicken them for this look.
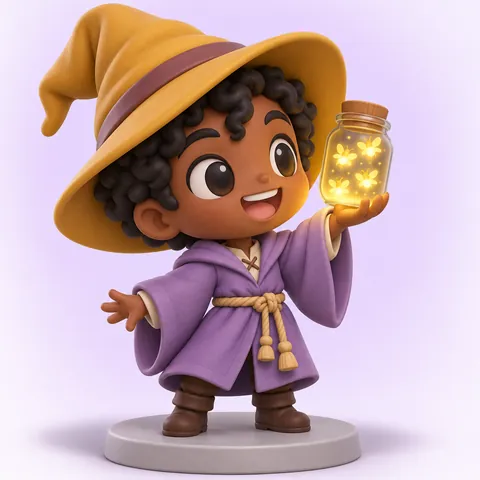
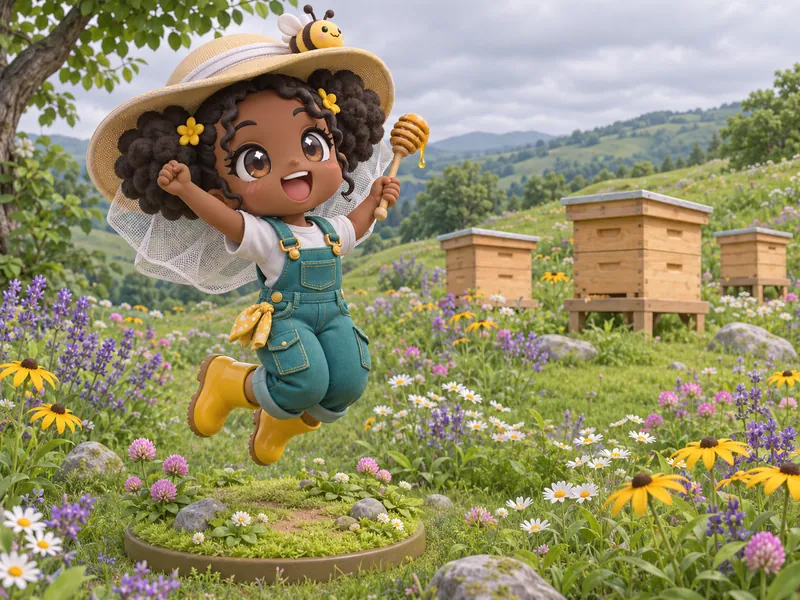
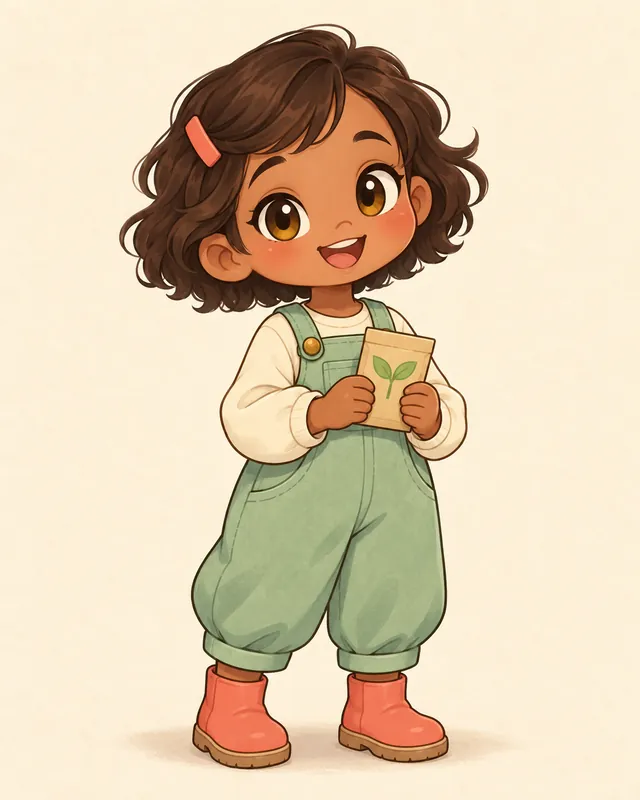
Chibi 3D shrinks the body to about two and a half heads tall and gives the head most of the volume, like a small collectible figure. Keep the face expressive and the outfit simple: one coat shape, one hat, one prop. A high camera angle makes the character feel toy-sized, and a grassy diorama base completes the look. If you want the same small proportions as a flat 2D drawing for stickers or emotes, use our sibling chibi OC maker, then come back here when you want to see that design in three dimensions. Both pages read the same identity notes, so the character stays recognizable.
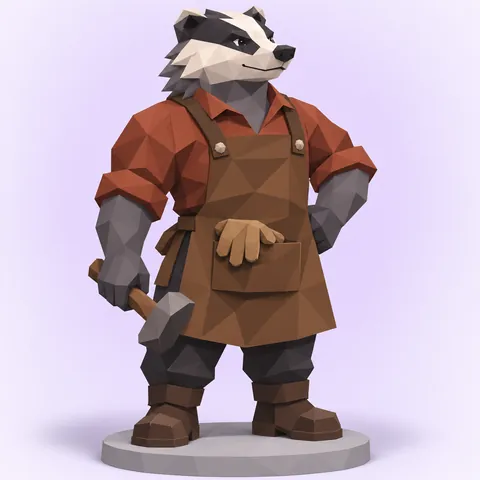
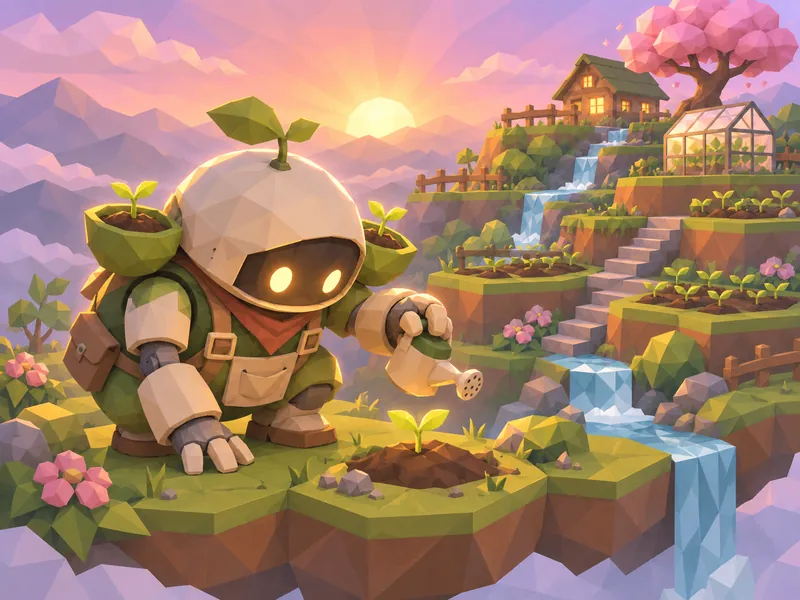
Low-poly characters are built from visible flat triangles, each shaded in one color, which gives them a crisp, crafted look that many indie games use. Fewer polygons means fewer details, so plan around big planes: a triangular nose, a faceted cloak, a blocky snout. Stick to four or five colors and let the light do the rest; each facet catches a slightly different shade. Fine patterns, lettering and thin straps disappear in this style, while bold color blocks survive. The badger blacksmith on the tile shows how much personality a few angled planes can carry.
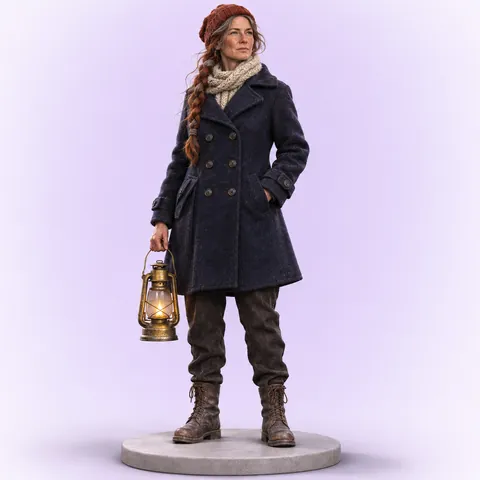
A realistic render pushes skin, hair and fabric toward real-world detail: wool fibers, worn leather, individual strands of hair and natural body proportions. It suits grounded stories and adult characters, and it is the least forgiving look, because small errors in hands or faces stand out. Describe materials precisely (a navy wool peacoat, a knitted rust beanie, a brass lantern) and keep the pose calm. Soft, directional light flatters realistic faces more than harsh neon. Teens and adults stay fully clothed in everyday or work outfits, and the page will not render suggestive or gory content in any look.
Three-point lighting uses a key light for the main shape, a fill light to soften the shadows and a back light to separate the character from the background. It is the safe default for any 3D OC. A strong rim light adds drama; golden hour adds warmth; a lightbox makes the render look like a product photo. Lenses change the feel too. A 50 mm lens is the classic normal lens on 35 mm film and keeps proportions natural, an 85 mm portrait lens flattens the face and blurs the background, and a 24 mm wide lens stretches whatever is closest to the camera.
Names and details
A 3D OC often lives in more than one place: a story, a shelf of figures, a game lobby. This free mixer has three sets for those jobs. Character names pair a given name with an invented surname. Figure names add the kind of edition tag collectors use for variants, such as a glow edition or a chase variant. Game handles join two words into one name that fits a player tag. Pick one and it fills the name field, which labels your character card and is never drawn into the picture. Then pick a signature detail below so the render has one thing that is unmistakably yours.
Given name + invented surname
Pick one detail with a material of its own, then edit it to fit your OC.
Guide
A 3D character has a back, a side and a top, and every one of them can be seen. Work through these steps in order and your OC will hold up when the camera moves, whether you keep the render as art or hand it to a modeler later.
Decide what the render is for before you choose a look. A story illustration or a profile picture suits toon anime 3D or a painterly render. A character for a game idea suits the stylized game hero or low-poly. A gift or a desk mascot suits vinyl, plush, crochet or chibi 3D. Pick one look and keep it for the whole first session, because switching looks changes proportions as much as it changes surfaces. If you are not sure, start with the default 3D style and no look chip; that gives a polished, neutral render you can compare the others against.
Flat drawings can hide a missing back. A 3D OC cannot. Think about what the character looks like from the side and from behind: where the hair ends, how a cape hangs, what is on the back of the jacket. Build the design from one big shape (a coat, a shell, a cloud body), a few medium shapes (boots, a bag, a hat) and only then small details. Ottie works because her kite fills the back view, her jacket is one bold block of red and her boots anchor the bottom. Write those shapes into the description box before you add colors.
In 3D, what something is made of matters as much as its color. Choose a main surface finish, then name the materials of two or three other parts in the description: a glossy jacket, a chunky knit sweater, rubber boots, a brass spool. Contrast is the goal, so do not make everything shiny or everything matte. Translucent parts such as a visor or a dewdrop read beautifully against a back light. Avoid materials that suggest anything unsafe for younger viewers, and leave logos, brand marks and lettering off every surface.
Start with soft three-point studio lighting and an eye-level 50 mm view; that is the most honest picture of your design. Then try one change at a time. A low 35 mm angle makes a hero feel bigger, a high angle makes a chibi feel toy-sized, an 85 mm lens gives a calm portrait, and an isometric camera turns a scene into a diorama. Lighting carries mood: golden hour for warmth, moonlight for quiet, neon for energy. Keep the face lit in every setup, because a render where the face falls into shadow is hard to use as a reference.
Pick a pose and a base that suit the character: a round display base for a figure, a grassy diorama for a woodland OC, no base for a scene. When the design feels right, switch the output to Ref sheet, choose the A-pose and a front orthographic camera, and ask for front, side and back views on a plain background. That sheet is what a 3D artist or a model-making app needs. Compare the three views, note any detail that drifts between them, and keep your written notes as the source of truth.
Other fandoms
 ChibiOC Creator
 RobloxOC Creator
 FortniteOC Creator
 OverwatchOC Creator
 AI PoseGenerator
 Full BodyOC Creator
Tools
FAQ
Sign up and your first pack comes with 100 bonus credits.