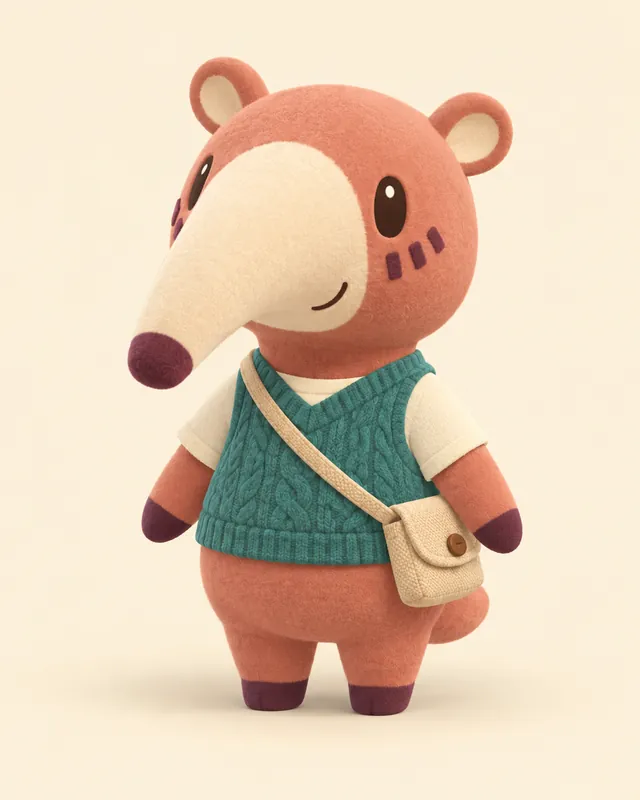
Pipkin Patch
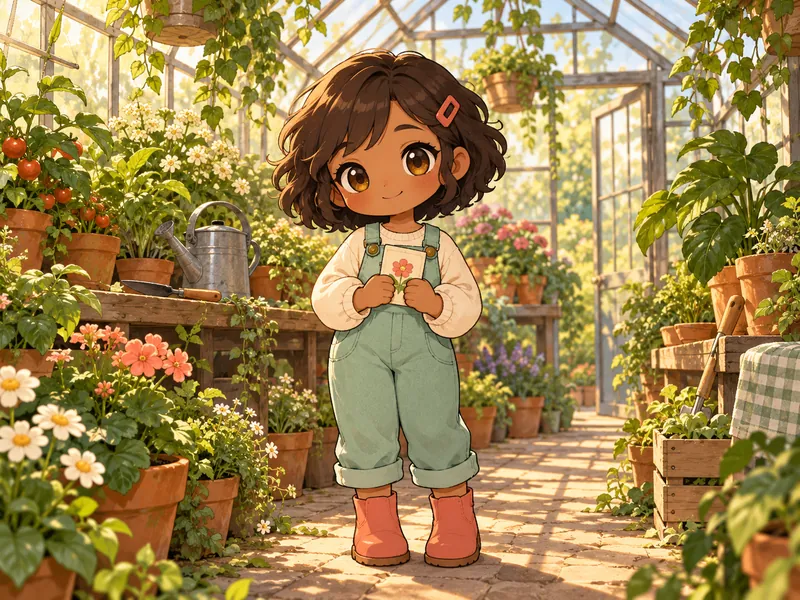
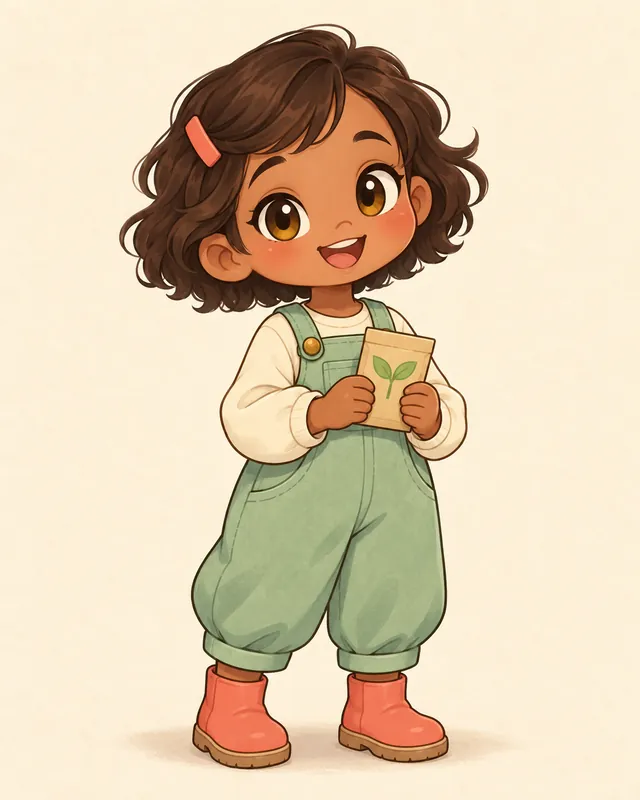
Garden helper- Grows seedlings in spare cups
- Coral boots, mint overalls
- Always offers the first sprout
This chibi character creator turns your OC into a tiny, expressive version of itself. Pick an outfit, proportions, and a face, then keep the hairstyle and accessory that make it yours. Start with an illustrated idea for an avatar, sticker, or expression set.
Ideas
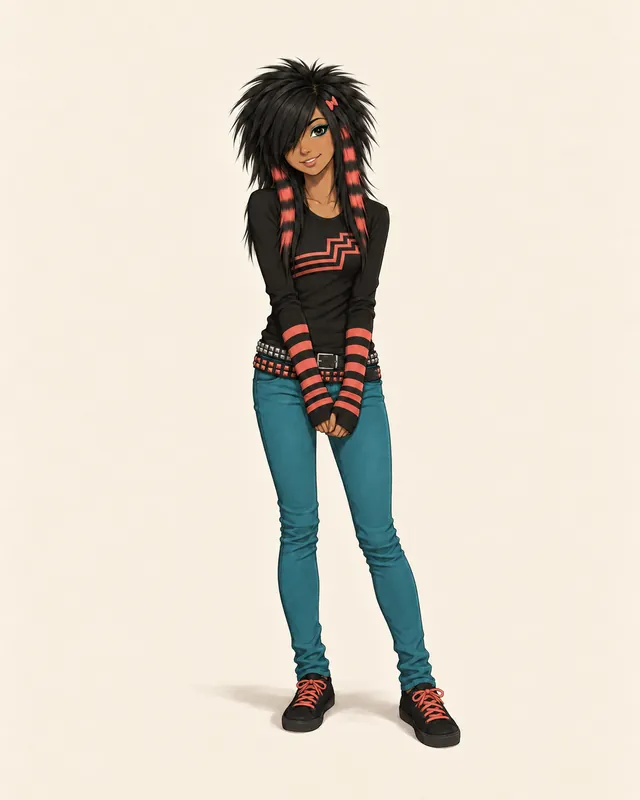
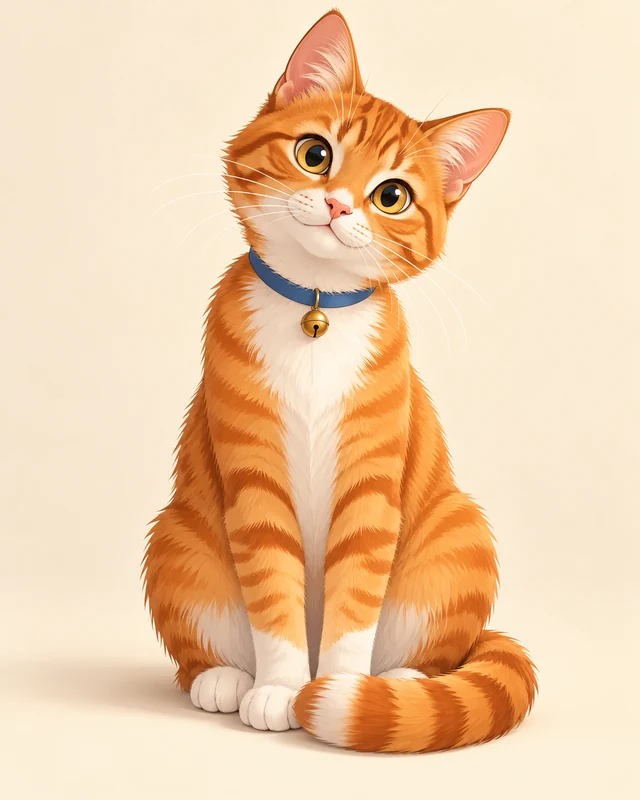
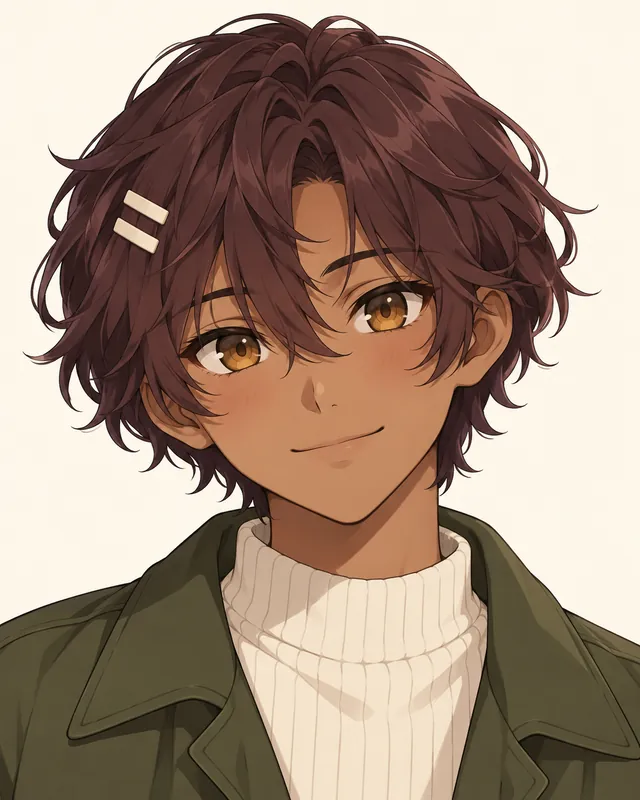
Use these characters as starting points, not a matching set of faces. Each has a different hairstyle, hobby, and color balance. Load a card to bring its outfit, expression, and signature detail into the generator. The written details stay editable, so you can keep the silhouette while replacing the name and personal story.
Know the rules
Chibi is a way of simplifying a character, not a particular age or a fixed costume. Art Rocket describes compact bodies and oversized heads; this page uses a practical range of 2 to 3 heads tall. The three wardrobe choices are our own starting points. You can combine their ideas while keeping the face and silhouette readable.
Sources: Art Rocket: drawing chibi characters
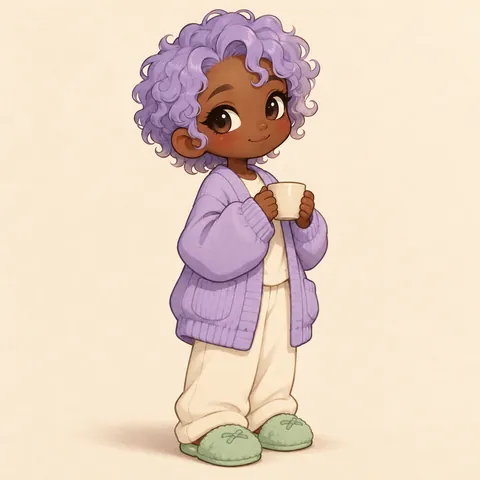
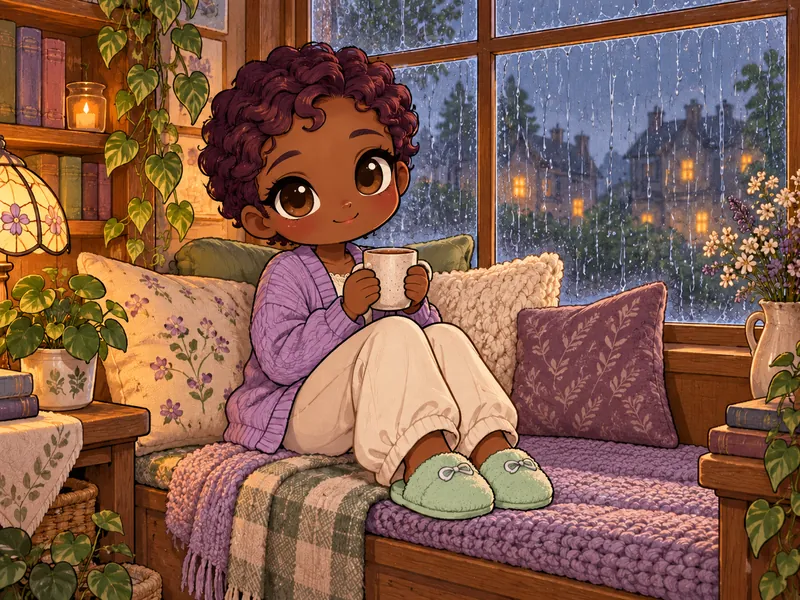
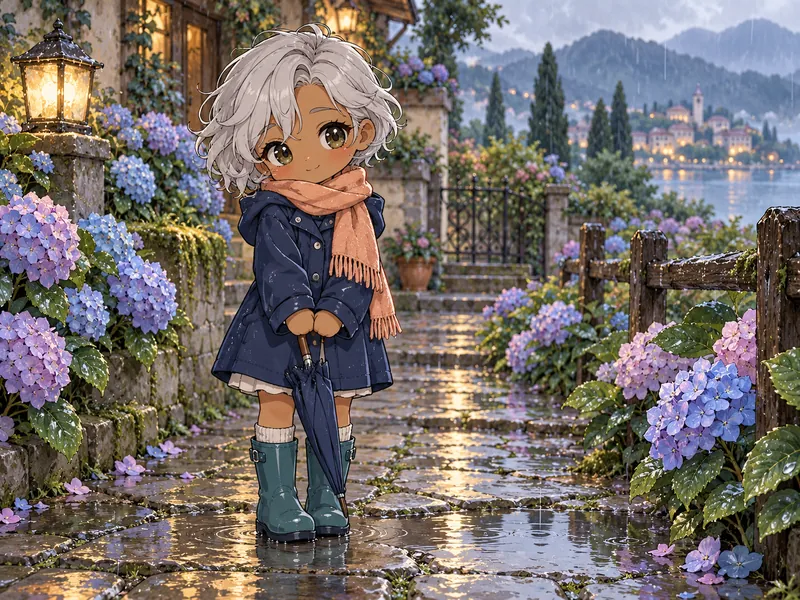
A roomy cardigan, rounded shoes, and a small everyday object give a cozy character an immediate purpose. Let the sleeves make one broad shape instead of describing every fold. For Nori, the mug is the main prop, so the trousers and slippers remain quiet. You can change the cardigan to a sweater or raincoat without losing the soft silhouette. Keep the face visible above the collar and leave space between the hands and body. This is a useful starting point for a greeting sticker because the expression does most of the work.
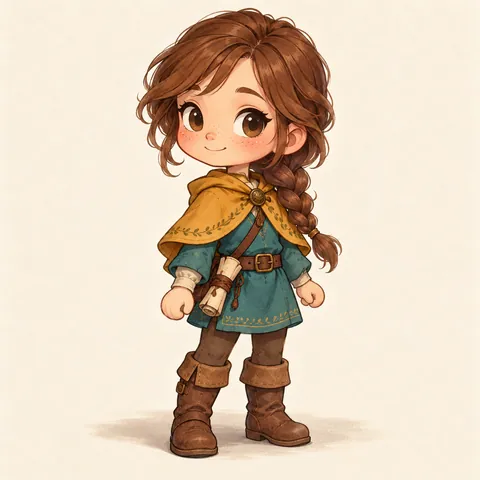
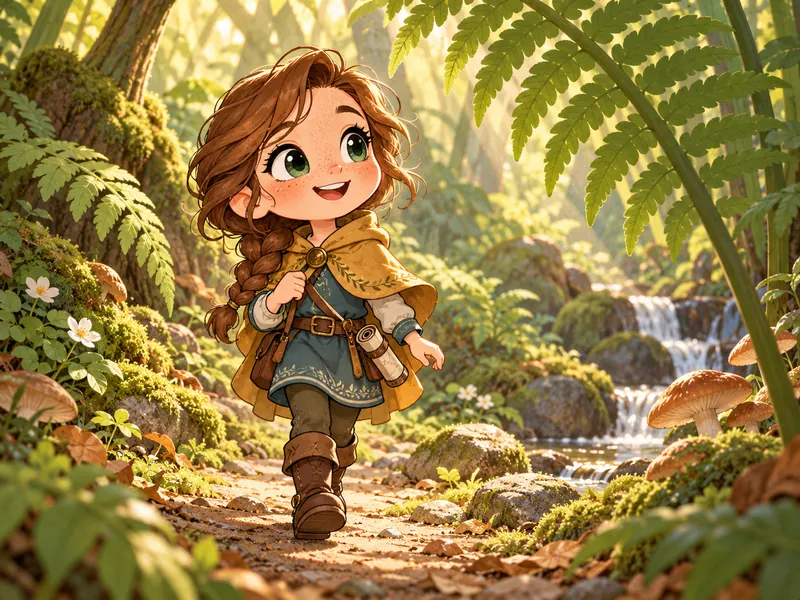
A tiny explorer does not need a miniature inventory covering every surface. Pick a capelet, sturdy boots, and one clue to the adventure, such as a rolled map. Tavi keeps the mustard cape and teal tunic as the readable color blocks. If your original OC wears elaborate armor, preserve one shoulder shape or a familiar clasp, then simplify the remaining panels. A shorter cape helps the feet remain visible. The goal is a recognizable small version of the design, with enough open space around the limbs to understand the pose.
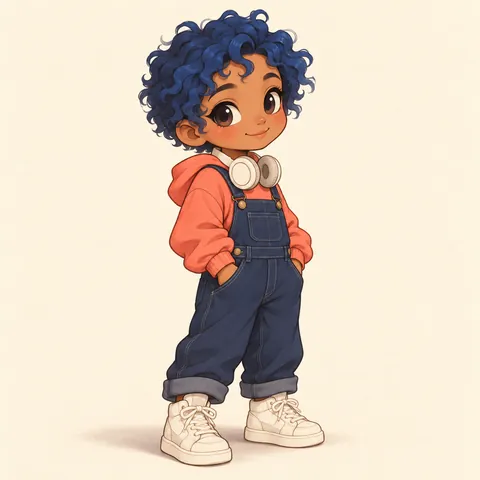
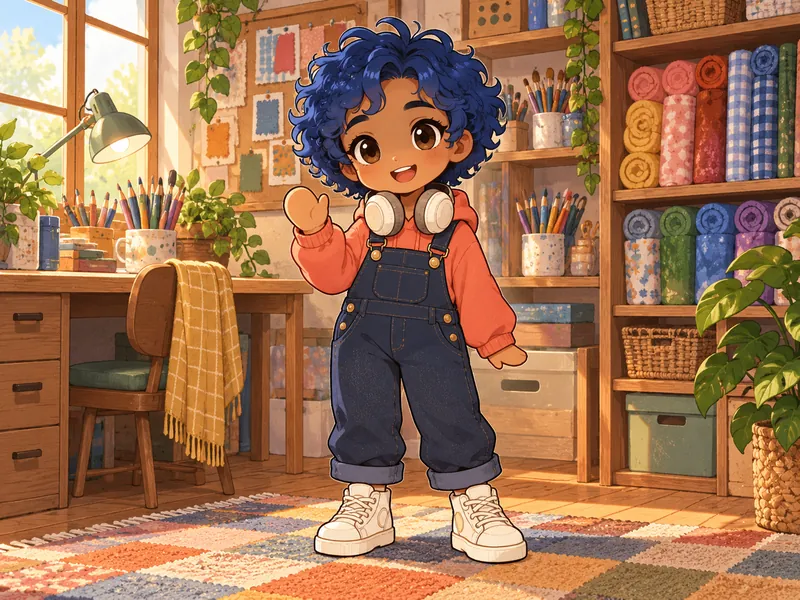
A hoodie, overalls, and high tops make a practical outfit with a clear top-to-bottom rhythm. Use one bright color near the face and repeat it only in a small accessory. Lumi's headphones sit around the neck, so the curls remain the strongest shape. Avoid covering the hoodie with tiny patches that disappear in an avatar. If you want a scene-inspired chibi, start with the linked scene page to plan the hairstyle and colors, then describe those same details here. The outfit can stay expressive without relying on a recognizable logo.
At two heads tall, the head takes up roughly half the total height. That leaves very little body space, so a single sweater shape usually reads better than several layers. At three heads tall, there is more room for a belt, a cape, or a pair of distinct boots. The middle choice is a flexible compromise for everyday outfits. Treat these as design targets rather than a guaranteed measurement from the generator. After drawing, compare the head height with the entire figure and simplify the outfit if the result feels too busy.
The eyes carry much of the expression, but they still need room for eyebrows and a mouth. Use a simple hand gesture, such as a wave or both hands around a cup, instead of a complex finger pose. Rounded mitten-like hands are a deliberate drawing choice. Inspect the finished result for extra fingers, merged props, or a wrist that joins the sleeve incorrectly. Small details become harder to judge when reduced, so check both the full-size image and a tiny preview before using it as an icon.
A useful expression set keeps the same hair outline, accessory, outfit colors, and eye color across every face. Change the eyebrows, mouth, and pose to communicate happy, sleepy, excited, or shy. Do not change the hairstyle just to make an expression more dramatic. Begin with one neutral reference and copy its identifying description into later requests. Generated variations can still drift, so compare them side by side and correct details before treating them as a finished set. An expression should be recognizable without a caption.
Names and details
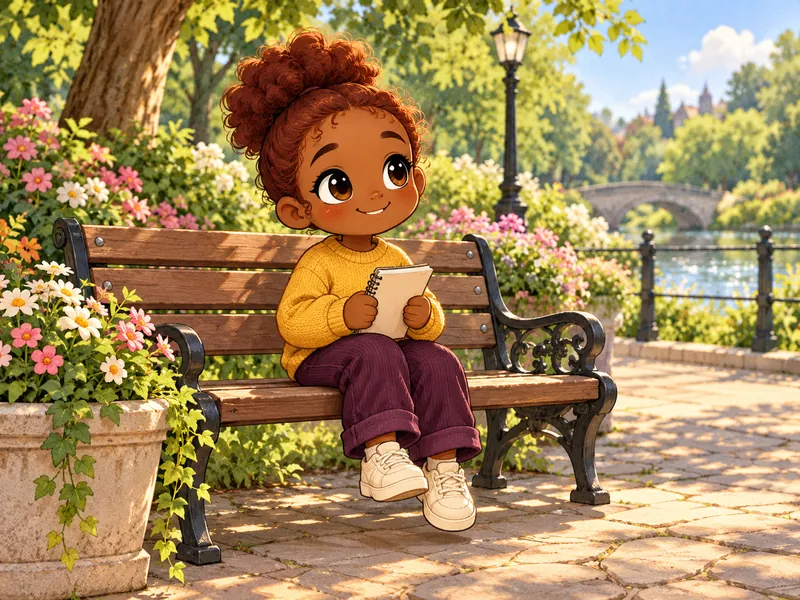
These playful two-word handles suit a mascot, a sticker character, or an alternate nickname for an existing OC. They are optional: a chibi version can keep the original character's full name. Pick a detail that explains what the character does, then use that detail in the drawing. A closed notebook, a seed packet, or plain headphones can tell a story without turning into a pile of accessories.
small everyday word + hobby word
Choose a simple visual anchor, then edit it to fit your OC.
Guide
To make a kawaii character, first write down the details that make the character recognizable at a glance. A tiny version rarely needs the full original costume. This workflow helps you keep the identity while giving the face enough space for a strong expression. Use the same notes later if you want matching stickers or a new avatar.
Choose the hair silhouette, a main clothing color, and one personal accessory. For an existing OC, compare those choices with the original design rather than adding new decorations. A side braid, mustard cape, and rolled map are enough to identify Tavi. Write the anchors in the details box in plain language. If the original has many patterns, keep only the one that remains readable when the image is small. The name belongs in its own field and should not be drawn onto the outfit.
Use two heads tall for a very compact mascot or sticker. Use three heads tall if the boots, overalls, or cape need more space. The middle setting works well when you want a large face and a recognizable everyday outfit. Keep the Chibi art style for this page's usual look. Choose a full-body output when you need to inspect proportions; a portrait crop is better after the character is settled and the face becomes the main subject.
Start with a happy or shy face before asking for a whole expression collection. Describe the eyebrows and mouth, not just an abstract mood. For example, excited can mean raised eyebrows and a small open smile. Keep the hands simple enough to understand at thumbnail size. If the character holds a cup, ask for both hands around that one object. Save this first result as your visual reference, then preserve the same outfit and hair description in subsequent images.
A plain light background makes it easier to inspect the silhouette or crop a profile picture. A greenhouse or window seat gives an idea card a small story. For stickers, keep a clean gap around the character and avoid background objects touching the outline. This page does not promise transparent exports or automatic sticker cutting. You can prepare the final cutout in an editor after checking the image. Leave enough space around the top of the head for a circular avatar crop.
Inspect the eyes, hands, hair clip, and footwear before building more images. Correct a mismatched accent color in the written description instead of quietly accepting it as part of the character. For a set, change one expression at a time and compare each result with the reference. If you want several expressions on one canvas, request an expression sheet explicitly in the details box. Generated layouts may need manual cropping and cleanup before they work as individual emotes.
Other fandoms
Tools
FAQ
Sign up for 10 bonus credits and make your first OC free.